You will need
- Joysticks, soldering irons, duct tape, LPT socket of type "daddy".(that's the one with pins), a few diodes.
Instruction
1
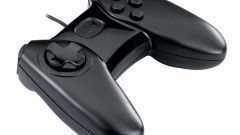
To begin, select a few stray sticks, take necessary tools and spare parts, as well as be enthusiastic.
2
Next, locate the LPT port on your computer.Outside on the housing of this connector may not be, but if you pay attention to your motherboard, it is unable to detect it.
3
To the LPT connector on the motherboard connect the appropriate plug. Plug connector LPT buy on one of the radio markets where are sold used spare parts. Perhaps you know a programmer that will share parts.
4
Next, assemble the schematic and the actual equipment itself. Contacts of the parallel port are used for different purposes. There are transactions that are used for data input, there are those that are designed to display information. Locate the wires in the following colors: yellow clock(CLOCK), orange are used for power, blue - GND, green - latch(LATCH), blue is the control contact.
5
Transaction Clock and Latch control the transfer of information sequentially. Power to the joystick is supplied through one contact, and is taken from the five wires. Power supply connectors depends on the specific schema of the joystick. The joystick is powered through the diodes. The diodes are the rectifiers, that is, one-way diodes will pass current and the other is not. With LPT port current will pass and is back on his back will not allow the diodes. The direction of the current in the diode is usually depicted as arrows. Solder the diode with the arrow pointing up to the corresponding transactions on the LPT scheme.
6
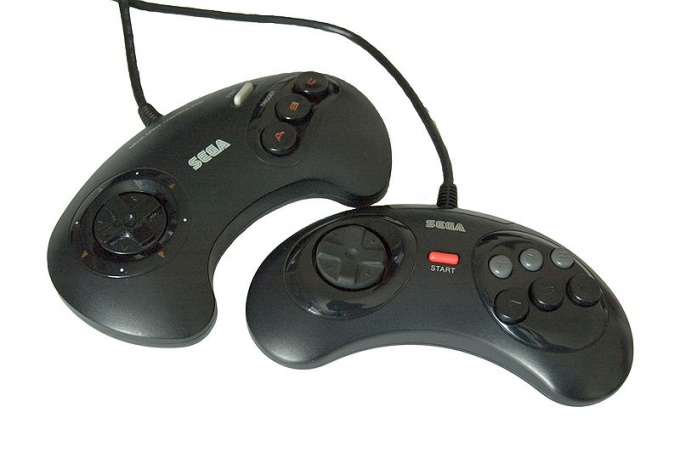
Then connect the joystick. Joysticks have the cable Data, which is the Manager and is denoted in blue. Each joystick in this respect is unique and has its own pin datа. Note that the diodes must match the parameters of resistance, is too powerful to not take. DB25M connector has a on old printer cables or modems. Well, if the connector is collapsible.
7
Having dealt with hardware, install software. To do this, locate the driver, such as PPJoy version 0.83. Install the driver in the usual way, then run Configure Joysticks. In the window that appears, click Add and set the options you want. Takim way, you will add the controller LPT.
8
Next, add new hardware using the Wizard add hardware". When installing don't forget to select "Install from a list or specified location. Here, specify the folder PPJoy. The system should find the drivers and install them.
9
Next, install the driver for HID compliant controller. Steps to install driver again, the driver installed with the same folder. All so you install the joystick SEGA to your computer.
Note
Connector plug the LPT needs to be collapsible. If I couldn't find one, cut the cable and ring out the a multimeter.
Useful advice
Sometimes the joystick external connector was not, so the joystick disassemble. Inside the joystick, locate the contacts of the respective colors, connect with plug LPT according to the scheme described above.