You will need
- water;
- - soda ash;
- - sandpaper;
- - automotive enamel;
- - standard drill;
- - doors and front panels for drawers;
- - PVA glue;
- - drill;
- - screwdriver;
- - countertop;
- - the range;
- - saw;
- jig - saw;
- clamp with screw.
Instruction
1
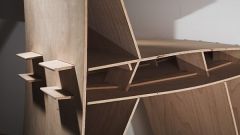
Start the renovation with the replacement of the doors and front walls of the cabinets. To buy the necessary elements of the facade draw a diagram of the furnituretion of cabinets, number, dimension, count the number of parts and make a list. Once all necessary parts are purchased, remove the old door from the hinges. On the inside of the new doors make marks to position the hinges as a template, use the same door. Drill holes in places in the markup, paste the recessed hinges. Hang the door fixing the hinges one by one, starting from the top. To replace the facade, make marks on the new wall by inserting an awl in the hole for the screw. Drill a nest, hang a new wall. Reinstall the drawers. For the ends of veneer use veneer. Glue it with PVA glue and iron the top edge of the iron. The extra edge veneer clean with emery paper.
2
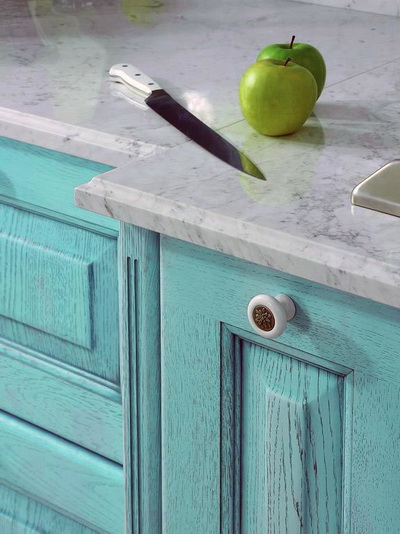
To paint updated doors and front wall wash surface with a solution of soda ash, wipe it. Paint all the necessary elements with automotive enamel. Painting start with grooves and end edges. You can also use decorative stencils to give the kitchen a unique look with original carved accessories.
3
The final step in updating an old kitchen is to replace the countertops. Remove old countertops, the sink, disconnect it from the cabinets using a screwdriver, remove the old sealant. Put on a new countertop layout of the upcoming cut-outs under the sink. Drill a large hole and insert a jig saw, then cut out. A vise with the screw clamp the tabletop and a ruler, adjust the top length with the saw. Secure the countertop in the same place and fill the joints with sealant.
Note
When fitting worktops in length do not use a circular saw, it can damage the edges of the veneer.
Useful advice
To change the appearance of the facade you can use a special film, it is easy to use and you can update it whenever you want.