Instruction
1
Log in with administrator rights on the computer.
2
Click "start" to enter the main menu system and navigate to "control Panel" for the operation of changing the drive letter.
3
Select "Performance and maintenance" and select "Administration".
4
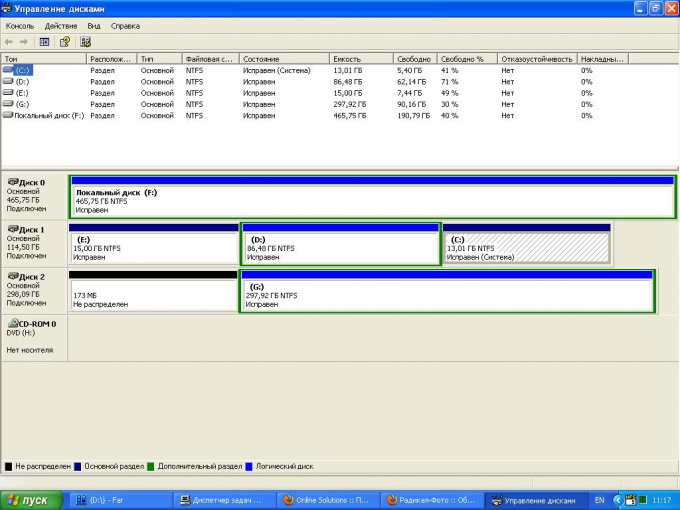
Open the "computer Management" double click and go to "disk Management" in the left pane of the application window.
5
Select the drive and call up the service menu by right clicking mouse on the required field of the disk.
6
Click on "Change letter drive or path to disk" and click "Add" to assign letter to the disk.
7
Select "Assign a letter drive (A-Z) and select the desired letter from the list.
8
Click OK to execute the command.
9
Click on "Change letter drive or path to disk" and click "Edit" to edit the drive letter.
10
Select "Assign a letter drive (A-Z) and select the desired letter from the list.
11
Click OK to execute the command.
12
Click on "Change letter drive or path to disk" and click "Delete" to delete the drive letter.
13
Click "Delete" and confirm your choice by pressing "Yes".
14
Use the "No" button when you see the error message and the impossibility of changing the drive letter. Shut down all programs that use the data need the volume, and replace the drive letter by the above method.
15
Use the "No" button when you see the error message and the inability to remove a drive letter. Shut down all programs that use the data need volume, and then remove a drive letter as described above.
16
. Select "Yes" to a drive letter was removed at the next boot of the computer.
Note
Most programs refer to specific drive letters for environmental variables and other variables. When you assign the drive letter, these programs may not work correctly.
Useful advice
The drive letter change not a built-in feature in disk Management.