Instruction
1
Open the image that will be converted to negative.
2
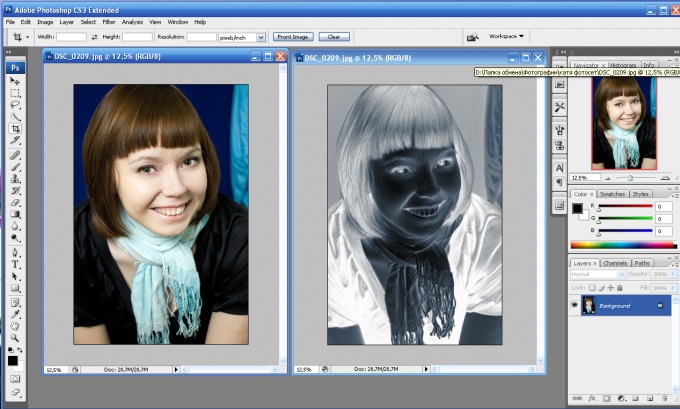
The next step is to invert the colors. Inversion – a change of colors on the opposite, the opposite. Help make this Ctrl + I or you can do through the menu "Image – Adjustment - Invert (Image – Adjustments – Invert). You will see that the color of the source image has changed.

3
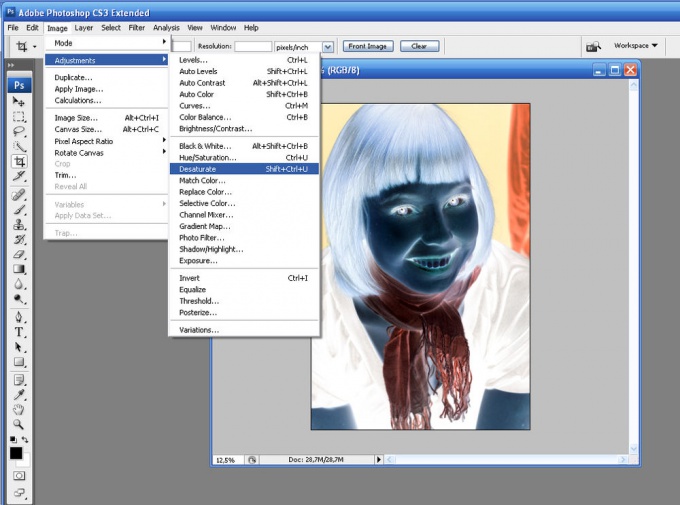
Many stop at the second step, but this is wrong, as the negativity was not created until the end. After inverting is necessary to discolor your image. This can be done from the keyboard – Shift + Ctrl + U or via the menu "Image – Adjustment – Desaturate" (Image – Adjustments – Desaturate). As you can see, the image became totally black and white.
4
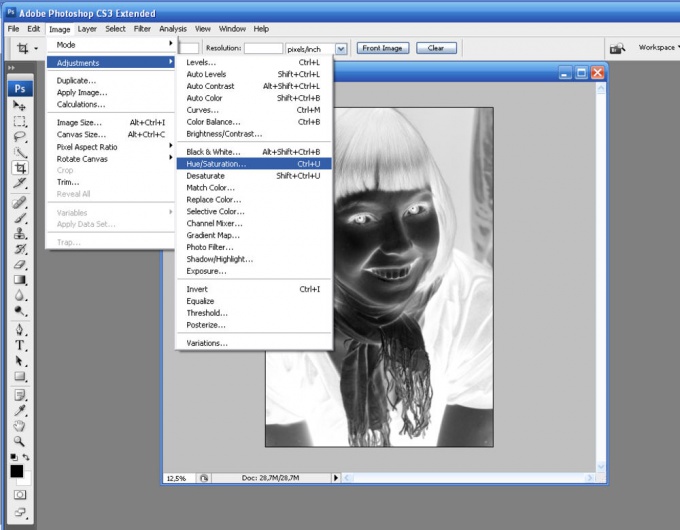
Next you need to correct pictures. Come to the aid of the menu "Image – Adjustment – hue and saturation (Image – Adjustments – Hue/Saturation). There is sure to tick next to the option "Rendering" (Colorize). Next, the cursor will change the values of fields from top to bottom: color tone (hue) – 209, saturation to 15, the brightness (lightness) remains the same, zero. Click OK.
5
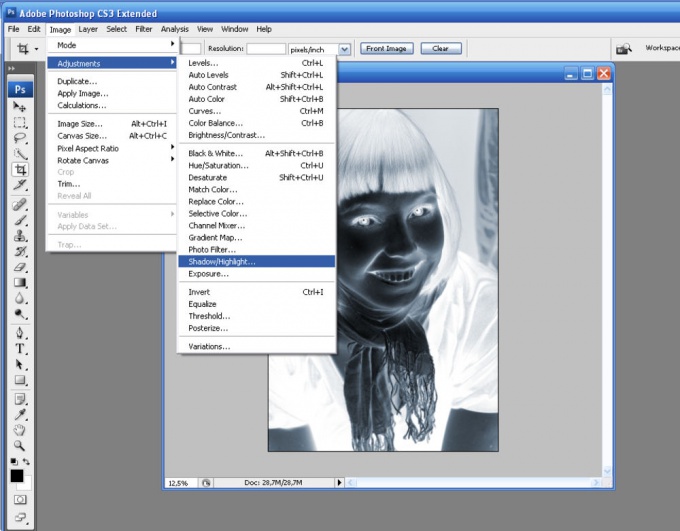
The next step is to work on the relationship between light and shadow: "the Image – Correction – Light/Shadows (Image – Adjustments – Shadows/Highlights). A new window will open image correction. If it's small, click the bottom "more options" (Show More Options). Change the indicators-tone and light so that the image is more saturated and of high quality. In "Shadows" - Shadows put the following values: number – 0, the width of the tonal range – 50, radius 30 pixels. In the menu "Light": effect – 35, the width of the tonal range of light – 75, radius – 30. The values of color correction and contrast in the midtones needs to be negative: color correction need to be put on level – 8, mid-tone contrast -10.
6
Often when you create a negativeimage of the ov flip. This can be done using the menu item "Image – Rotation and reflection" (Image - Rotate Canvas). Your negative is ready.