You will need
- Door (2 PCs) of laminated chipboard or chipboard, tape measure, wood screws, square rails for top and bottom, wheels and rollers, saw
Instruction
1
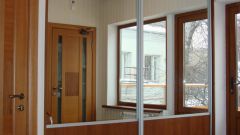
Before making a door, collect all the internal structure of the Cabinet. Fully mount the partitions. The only way to properly make and install this item.
2
Take the construction tape measure and measure the width of the opening. This should be done in the upper half of the Cabinet. Here is upper management. This part of the door has the appearance of a W-shaped beams. From the result of measurement subtract 2 mm. Cut the top guide based on the received data. Observe the angle of cut is 90 degrees. Before you make the cut, take the square and scribe a line around the perimeter. Make a slice through it. To work with a hacksaw is better on the back side. This should be done in order for the tool slipping, clawing a profile.
3
Make marks for the screws the size of 30-50 cm During the work with the guide make sure that the profile was face to working, not down. For convenience, the rail can be installed on the supports. So it will be maximally protected its front part. On both sides of the guide you will need to drill holes for the screws. They should go hand in hand. The holes should be on both sides - for smoother running of the upper wheels.
4
When top rail is ready - place it in a closet and lock. Ensure each side remained a gap width of 1 mm. Attach the rail parallel to the ceiling of the Cabinet. It should be located at equal distance from the niches and walls of the Cabinet.
5
When top rail is installed, you can go to work from the bottom. Measure the length of the base Cabinet. Length bottom track must be less than 1 mm. Cut at right angles. When cut - paste it in the closet, but not prikruchivayte to the base.
6
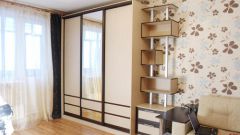
Take chipboard. Remove the necessary measurements for future door (length and width). Make two doors from chipboard or use a pre. Install them in place where they should be in the closet. Do it better together. First, insert the door in the rear guide. To do this, slide the right door in the upper rail with wheels-casters, and then lift up the bottom rollers by hand. In this position, place it inside the Cabinet and insert the lower guide wheels.
7
Adjust door on the side walls of the Cabinet. Use the adjustment screws located at the bottom of the wheels.
8
The left door of the closet set left. By analogy with the right door, insert the wheels into the guides. After installation, check the parallelism of the parts of the wall. If necessary adjust the paper guides.
9
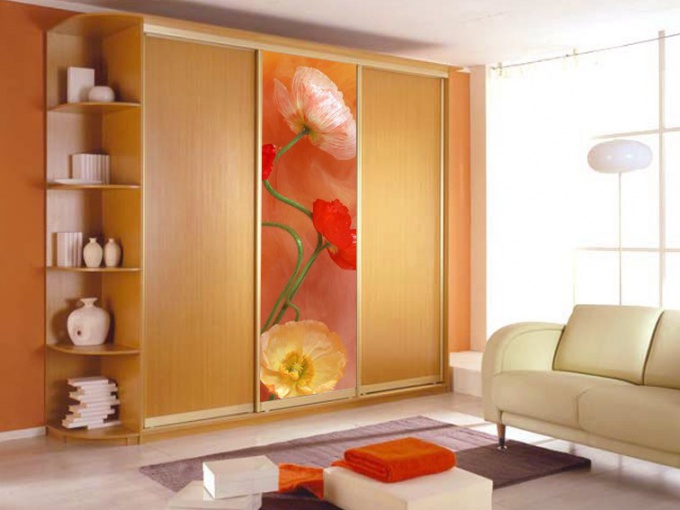
When all manipulations with the doors finished and everything checked out - screw the screws bottom rail in the floor of the Cabinet. Installation must be done accurately, otherwise there will be a smooth running door.
Note
Do not, without serious reason to use adjusting screws. You can disable the mechanism.
Useful advice
Purchase spare wheels-rollers, so that in case of failure they had at hand.