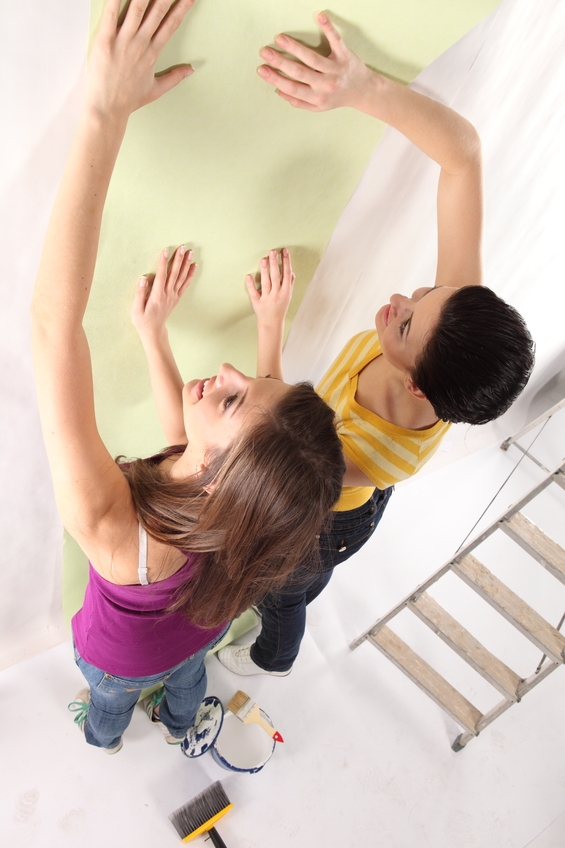
You will need
- - water and rags;
- - scraper or a knife;
- - acrylic primer;
- - high-quality Wallpaper glue;
- brush, net fabric (tulle or a bag);
- - plumb
- - razor blade or a special knife;
- - brush and roller.
Instruction
1
Make sure that the old plaster on the surface to be pasted on the wall is good enough, it never is separated in pieces and has no cracks and chips. Sometimes this covering paper Wallpaper hold well, their appearance is long on the top. However, when working with white you always run the risk of from Wallpaper paste lime can get wet and eventually flake off. On the Wallpaper there will be ugly bubbles, and the paper web can even move away from the wall along with a particle of whitewash.
2
It is recommended to glue a test sample (one paper background) so as not to spoil the material. If whitewash is not an obstacle for a quality repair, you can start pasting the whole wall.
3
Apply whitewash high quality (deeply penetrating into the wall surface!) acrylic primer. After complete drying of the first layer put the second. Next, you need to dilute clay with water (20%) and once again primed the wall of the obtained composition. Only after these manipulations it is possible to glue the Wallpaper.
4
Choose a good Wallpaper paste at the hardware store with a good reputation! From its composition and technical characteristics will depend tight lies Wallpaper on the whitewashed surface. In no case do not skimp on the glue; note that each blend is developed for a specific type of finishing material. Carefully read all information from the manufacturer on the packaging and strictly adhere to these instructions.
5
If the quality of the wash is low, it is best to thoroughly wash it off the wall. To clean easy to use old pieces of tulle or net bag from the vegetables; you can also use a brush. Moisten a white-washed wall surface with room temperature water and allow the liquid to impregnate the decorative covering. The remains of whitewash softened remove with a scraper or knife.
6
Clearing and covering the wall, stick the Wallpaper on her as usual. Follow the basic requirements for this type of finishing:
- mix the Wallpaper glue according to the instructions on the package, then just move on to the papering;
- pre-cook panels of the necessary size, not forgetting the allowances on the plinth. The surplus in the future, carefully cut with a razor blade or with a special knife;
- adhesive composition for 5-8 minutes to saturate the Wallpaper, if the instruction is not one of them recommended another;
- apply glue with a brush from the center to the edges of the cloth;
- don't forget to cover them parallel to the wall;
- a vertical line the walls regularly check with the plumb line;
- start papering from the window opening, so that the joints are not conspicuous;
- smooth with a soft cloth (or a special roller and brush) adhesive strip from the middle to the edges, from ceiling to floor. On the paper surface should not have formed bubbles and crushed "accordions"!
