Instruction
1
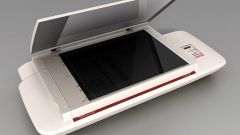
Connect the scanner to the computer if it was not done earlier. Most of them use to communicate with the computer USB port and the appropriate cable must enter into the standard scanner. Make sure that the power cable is also plugged in and connected to the device. Usually the "domestic" no scanners keys power, so immediately after connecting the USB cable the computer should recognize the new device and install a driver for it. If he can't do it alone, in the notification area (tray) confirmation message will appear and you will need to install the driver from the disc, which should also be present in the kit.
2
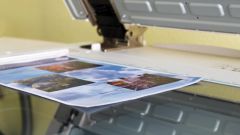
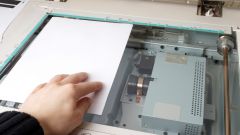
Place the scanned document in the device (facing the glass) and carefully close the cover. Depending on the model and installed software that may be enough to automatically start scanning program. If this happens, press the appropriate button on the front panel of the device and the screen a window will appear with a list of programs that are configured to work with your scanner - select from them the most appropriate one. After that will work the scanner driver, and further action will depend on the used model. The following describes the procedure for scanner Hewlett-Packard Scanjet 3500.
3
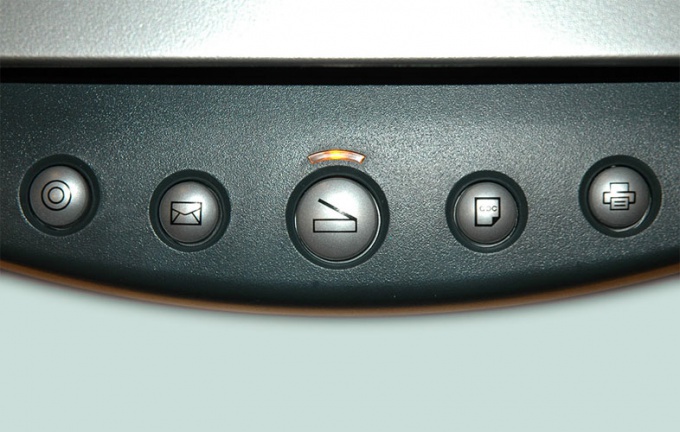
Rate are you satisfied with the quality of the image that shows the program scan in the preview window. If Yes, then click the big green button "Accept". If not - set the most appropriate values of the scan settings, and opening the desired section of the menu on the right side of the program window, and then click "Preview". The scanner will produce repeated pre-scan and update the image preview. Having achieved the desired quality, click the "Accept"button.
4
Wait until the scanning procedure with the selected item. It may take some time - the duration of the process will depend on the options selected. When the scanning process is finished, the driver will transfer your chosen image in the second step program.