You will need
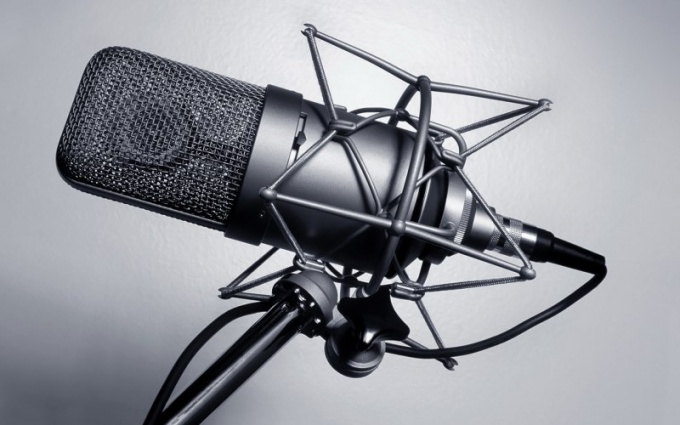
- microphone;
- headphones
Instruction
1
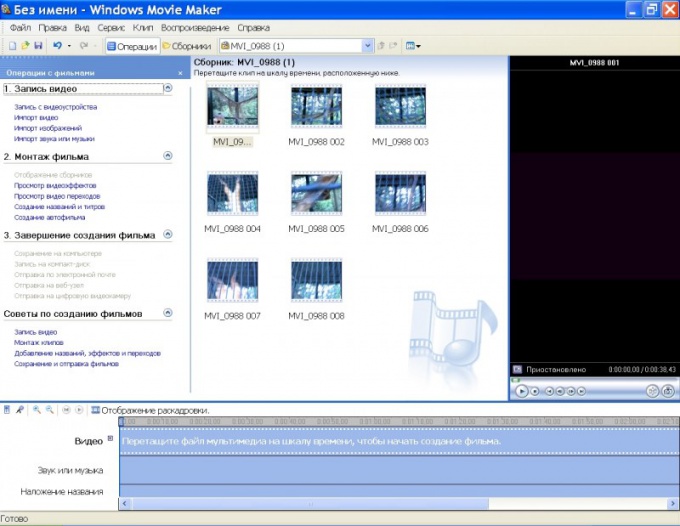
Connect the microphone to the appropriate connector on the front or back panel of the system unit. If you are using a headset "microphone with headphones", connect the device to the headphone Jack. In the folder C:\Program Files\Movie Maker double-click launching file moviemk.exe.
2
On the left side of the program window Movie Maker, which is called the task pane, in the "video Recording" click on "Import video" and open the folder with your video. Click on its name and click "Import". If you want to name multiple clips, hold Ctrl, and alternately mark all the files you need. Icons of the video files displayed in the content area.
3
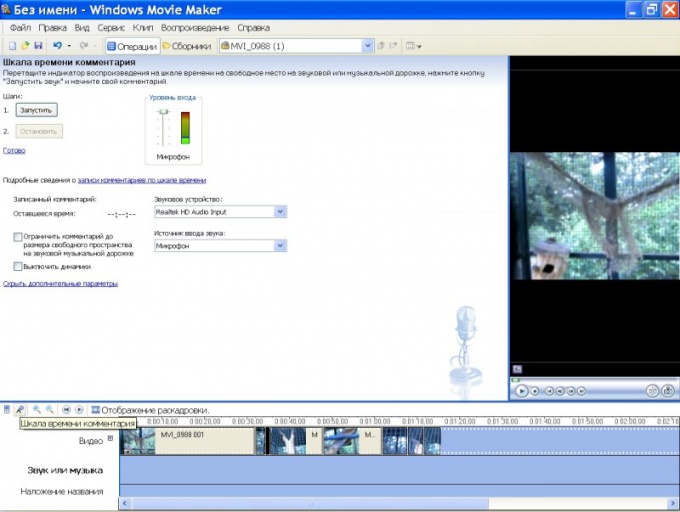
In the lower part of the window is the storyboard and the timeline. In storyboard mode, drag the mouse alternately, the video files into the pane and navigate to the timeline. Move the cursor to the left border of the video. Click on the microphone icon to the left of the timeline. A new window will appear "time Scale".
4
Click "Start" and begin to slander the comment text. The microphone indicator lights must display the changing level of the input signal and the cursor in the timeline to move to the right, by the end of the video. In the preview area shows the actual frames of video.
5
When the video ends, a window appears save the comment. Default offers to save the folder "desktop\My documents\My videos\Comment". You can specify another folder to place voice recordings.
6
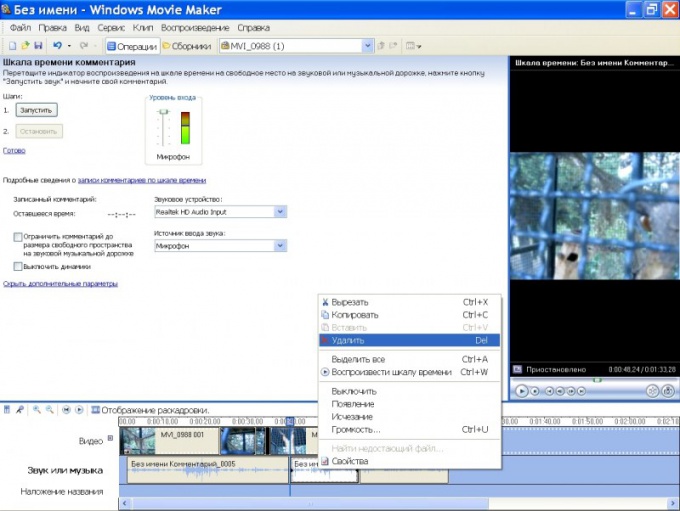
In the area of the timeline, press the play button and view the finished video. If you don't like some fragments of the scale, you can remove them. To do this, select the cursor in the timeline left border of deleted footage and press Ctrl+L, then - right border, and again use Ctrl+L. Click, right-click on selection and click "Delete". After this, place the cursor on the left border of the gaps and start the recording as described above.
7
Smashing Ctrl+L scale fragments, you can apply a variety of effects. Right click on "Audio or music" call the context menu and select from it the desired command. For example, you can set different volume levels for different portions of the audio track or to impose the extinction of the sound.
8
To save the video with overlayed voice return to the main program window and in the section "completing the creation of the film" follow the desired link: "Save on computer", "burn to CD" or etc. Follow the wizard instructions save.