Instruction
1
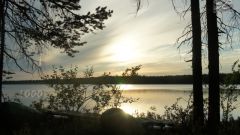
Open the image in Paint.net the command "Open" from the menu "File". In the menu "Image" click "resize" and enter the new width and height of the picture. If you want to maintain aspect ratio select the appropriate option.
2
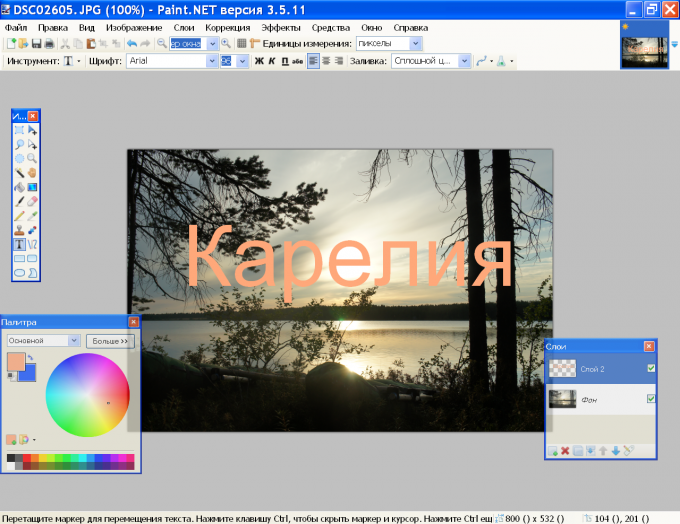
Panel word click the icon "Add new layer". On the toolbar, press T to activate the Text tool. On the palette select the desired color. In the properties panel, select the appropriate font and size. Make the inscription on the layer.
3
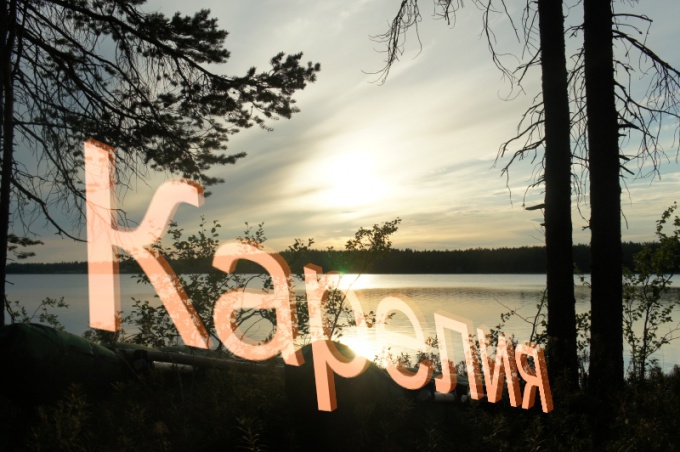
You can leave the image like this, but you can try to make inscription more interesting. For this text layer needs to remain active. Go to the menu "Layers" and click "Rotation and scale". The tool "Perspective" is used to move an object across the screen without distorting its proportions.
4
A perspective effect can be achieved by using the Rotate tool. Hook the mouse to the center of the circle and move it along one of the radii. This creates the impression of rotation in three-dimensional space. Use the slider Scale to reduce or increase the distortion.

5
To fine tune adjust the angle, tilt angle and the radius of tilt in the setup, clicking on the arrows up and down in the appropriate boxes. To position the label vertically to change the value in the box "Offset.Y," horizontal "Offset.X". Click OK when the result suits you.
6
Double-click on the icon of the text layer in the layers panel. In the properties window, choose the appropriate blending mode, which will make the collage more expressive. If you intend to further edit the picture, save it in pdn format, using the command "Save as" from the menu "File". If the final option, you can safeguard your extension is jpg/jpeg.