Instruction
1
Before starting the procedure, wash your hands with soap and water. Undercut large nail file nail surface to remove the bumps, adjust their shape. Brush remove nail dust. With a fine nail file gently begin to push back the cuticle.
2
After that, degrease the nails with the primer. This is a special degreaser, which must be very carefully applied to the nail plate, avoiding the cuticle and skin around the nail.
3
You can now proceed directly to the nail. First dip the brush in the liquid. It is the name of a substance needed in order for the acrylic began to harden, and in the future a long time kept on the nails. It also ensures even distribution of the acrylic on the nail surface.
4
Take the brush a small ball of acrylic, place it in the beginning of the nail plate to the place where the nail is in contact with the cuticle, and drag around the nail. If some of the acrylic gets on the cuticle, remove it using a wooden spatula. Ensure that the acrylic went on the nail exactly in order to minimize the subsequent correction of nails.
5
After waiting 30 seconds is needed for complete drying of the acrylic, start zapilivanija using a coarse nail file. Metal tools when working with acrylic is not recommended, as they may deform the material. First file out the nail edges. And at the end of a fine-grained nail file to go over the surface to eliminate irregularities.
6
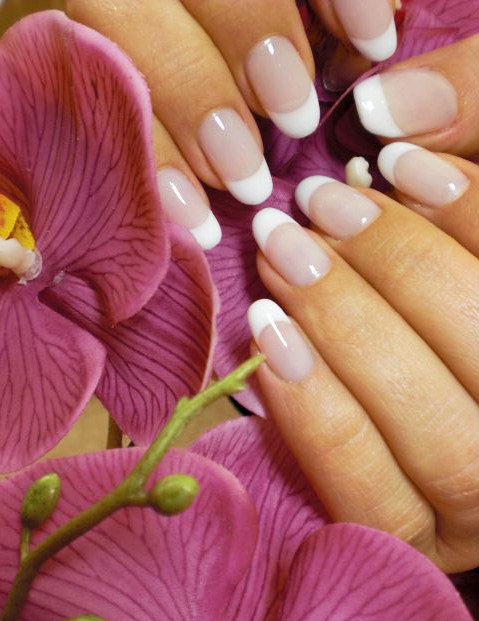
Sanding nail file clear nail surface over small bumps and give it a glossy look. To soothe the cuticle you should use a special oil. Wait 15 minutes and then wash hands to remove residual oil and cover the nail plate with clear varnish. Acrylic coating ready, you can begin the design.
