You will need
- - ink cartridge;
- - the layout of the chipsets on the cartridges;
- - Scotch.
Instruction
1
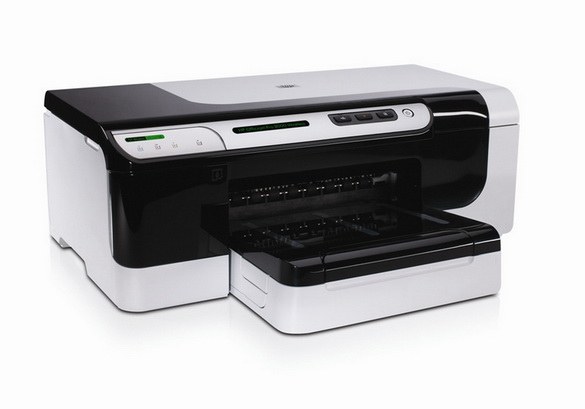
For starters, get an ink that is right for your printer model. Do not skimp on this - because their quality depends on the durability of the equipment. The exact name of your printer, see the instructions for this device.
2
Download from the Internet the layout of the chipsets on the cartridges. This can be done from official website of HP company. It should conform to your model of inkjet printer. Otherwise, these steps may not help. Also, check whether it can be used for zeroing. If Yes, then follow the instructions.
3
Pursuant to the scheme, remove your cartridge from the printer and place it with the contacts facing up. The print head should be forwarded to you. The figure will indicate the sequence chipsets. To begin the process seal with tape first. Then insert the cartridge into the slot and turn on the printer. On the screen you will see a message stating that it cannot be used for printing. Ignore the information and print a test page.
4
Again pull the cartridge and check the next contact, while two of them must be glued. Perform the same operation - insert the ink cartridge into the printer and perform the printing of the document. After that, remove it.
5
Next, peel off the adhesive tape from the first contact. Re-install in the compartment cartridge, and print a proof copy. Take it out, and release the second pin from the tape. Periodically wipe them with alcohol wipes for better contact with the phases.
6
In the process of the steps above, the chipsets are set to zero. When you install the cartridge back software inkjet printer starts to recognize it as full. The following steps must be performed each time refilling the cartridges.


