You will need
- needle need;
- - screwdriver.
Instruction
1
If the needle is broken or bent, then it is necessary to carefully remove. To do this, disconnect the power supply (for machines with electric drive). With the help of flywheel caution output needle bar to its highest position.
2
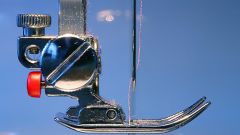
Screwdriver loosen the needle clamp screw and remove needle. Pay attention to which way was sent to the flat side on the bulb of the needle – flatted. In different models of cars, the needle can stand flatted myself or to the side of the sleeve machine. In case of breakage of the needle check to see if there are any broken needle tip in the tissue or in the Shuttle device. After removing the needle, do not rush to throw it away, look at the number stamped on the bulb.
3
Purchase in the clothing store a few extra needles of the same number. Note that the same number of needles may vary in length. So if this setting is too short or Vice versa the longer the needle, the sewing machine can be "capricious" and begin to make the gaps in the line. In addition, the needle must be sharp, smooth and well polished. Remember that notch on the needle can cause frequent breaks in the thread or deformation of the tissue.
4
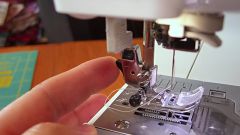
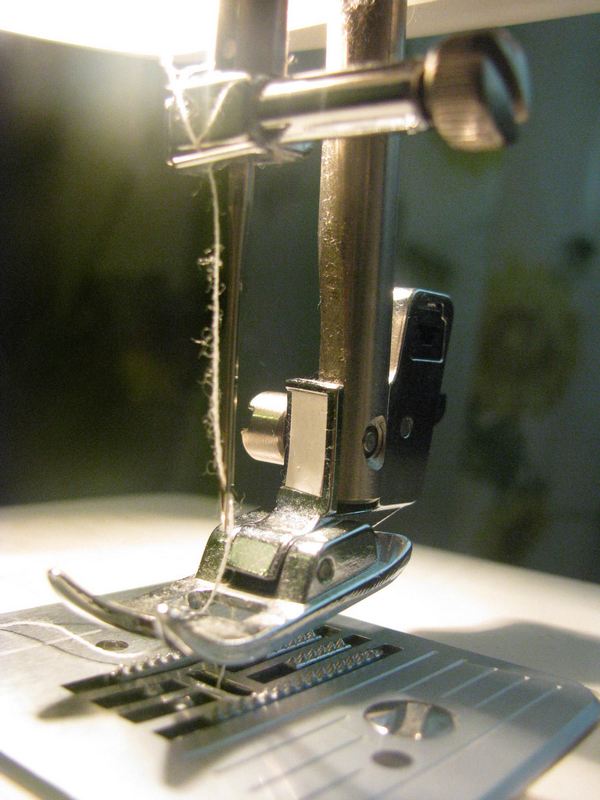
New needle insert the needle bar into the socket up to the stop. Keep the flat side of the needle (flatted) facing in the same direction as the old needles. Tighten the needle clamp screw.
5
Fill in the car thread and on the test piece of the material check the quality of stitching. Carefully make a few turns without ball bearing, make sure that the new needle does not cling (hits) for the Shuttle cap. Connect the drive and do a test stitch.
Note
When purchasing, pay attention to the needle number. For delicate fabrics (silk, chiffon), use needle No. 70. For thicker fabrics (cotton, staple) suitable needle No. 80. When sewing thick, dense fabrics (broadcloth, denim, corduroy) to select the needle with the thicker No. 90-100.
Useful advice
When working with knits put in the machine with special double needle.