You will need
- - a personal computer.
Instruction
1
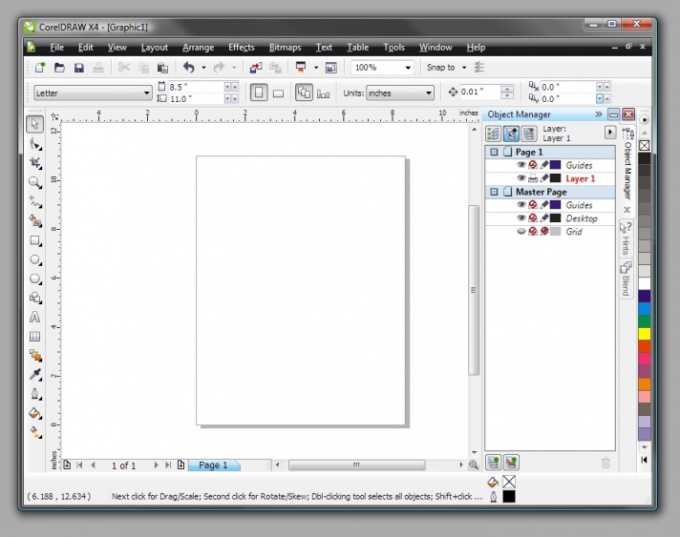
Draw a straight line. To do this, in the left column of the drawing tools, click the icon that has a sharpened tip of a pencil. It is located at the top of the column. Falls horizontal toolbar. From it, select the tool called "polyline". It is the most convenient and easy to use. Place the cursor in the point from which to reach the line and click the left mouse button. Move the cursor to the desired length and double click the left button. Please note that when you start drawing the line click should be one, and at the end of two. Note that the line drawn with this tool will be fine and when you print on paper will not be visible.
2
Be sure to select the thickness of the line in the top row of tools in the box located on the right side. There is a maximum value of 2.0 mm. If you need more, then make a manual entry of numbers from the keyboard.
3
Turn off the line. To do this, select the top tool in the left column of tools, called "pointer". Drag it to the drawn line and double-click the left mouse button until the arrows on both sides. Grab the mouse and rotate the arrows so the line as you need.
4
Draw long or short lines. On the existing line, move the pointer tool and click once with the left mouse button. Both sides appear black squares. Hook them up and get them in the middle to reduce lines and outside for its elongation.
5
Draw a colored line. Move your pointer tool and select it with the easy click of the left button. Now select a color in the palette, which is located on the right side column. When the color chosen, click right (!) button – line paint. Adjust the color to any other in a similar way.
6
Draw a dotted line. To do this, select the line "index". Then in the box located next from the window with a choice of line thickness, select the dotted line. In adjacent Windows click final tip, i.e. either the arrows or other signs.


