You will need
- Sheets of plywood, wooden slats, tape measure, level, electric jig saw, hardware
Instruction
1
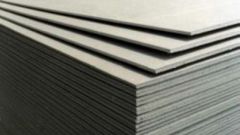
To sheathe the room, we recommend you to use ordinary plywood, which is sold in hardware stores. It has dimensions 1525х1525 millimeters. Of course, it would be most convenient to use sheets of the required length to avoid unnecessary extensions and patches, but, unfortunately, not always possible to choose the finishing material desired size. The place will have to cut and fit the estimated size of the wall. For interior decoration it is recommended to choose sheets with a thickness of 4 to 6 millimeters. As thin plywood is much cheaper, a utility room, not in need of special beauty, you can decorate it.
2
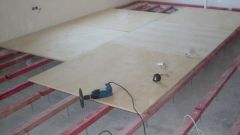
The wall sheathing as needed, like if you trimmed them with plasterboard. The sequence of operations is the same, however, the rack frame is a little different. First attach the horizontal slats in the ceiling, and then run the intermediate, the distance between them should be about 500 millimeters. Next, install the vertical bars in them to hold the edges of the sheet. When sawing plywood with a handsaw, it can be a snack, so as sawn-off piece will SAG. To avoid this, it is recommended to start the point of cut fix with a clamp. A whole sheet to cut is quite difficult, so it is best suitable for this electric jigsaw. Don't forget to stock up on spare blades.
3
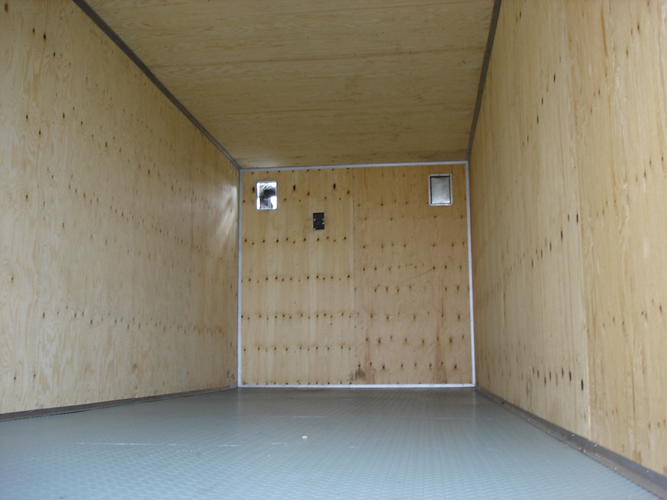
If you sheathe the ceiling, it is best to use sheets of plywood is not too big format. When fitting butt joint will be formed by joints, which over time can expand, so it is recommended to close them narrow rectangular strips. Keep in mind that when the casing walls this versatile decorative material may also be formed gaps in the ceiling or floor. It is best to close them with a cornice or plinth. As an alternative, can use the remaining strips. Attach cut sheets using conventional screws every 20-30 centimeters. After sheathing the walls with plywood, the surface can be issued: varnishing, Wallpaper, etc.