You will need
- - Screwdriver
Instruction
1
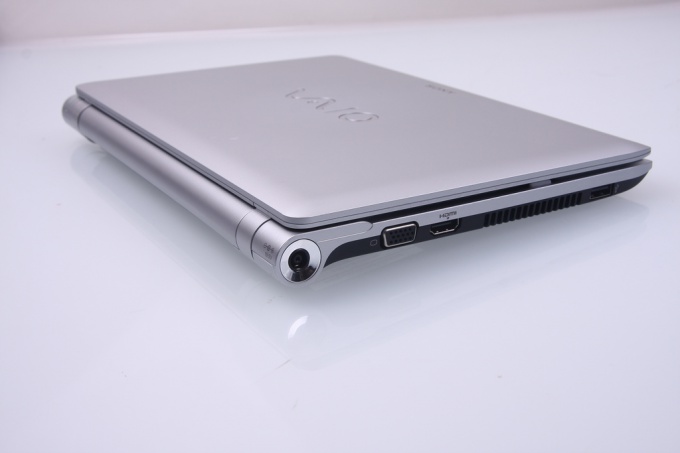
When disassembling the netbook Sony Vaio, you must first remove the battery. To do this, pull the corresponding lock on the bottom side of the device and remove the battery.
2
Unscrew all the bolts from the lower base unit, including under the rubber plugs. Remove the corresponding part of the body, which will be disconnected after removal of the bolts.
3
Remove the plastic cover from the left hinge using a thin screwdriver, releasing an internal latch.
4
Next, start to remove the keyboard, pulling the top panel slowly over. Pull it up until the keyboard is fully disconnected from the base. Do not rush to remove it, first disconnect the cable from the motherboard memory.
5
In part of the body, which is closer to the touchpad, there is a slot for RAM. Remove unnecessary bar and replace it. Insert the new strap into the corresponding slot. To pull the RAM, gently press the slot, then bend it at the angle approximately equal to 45 degrees. Release the corresponding latch. You can then carry out the replacement.
6
To remove the hard drive, disconnect the card with USB ports and SD. Its held by two screws that you must Unscrew with a thin screwdriver.
7
Loosen the screw which secures the metal plate of the hard disk. Lift the hard drive, disconnect the ribbon cable. To do this, pry up the connector, and pull out the cable.
8
After the upgrade and cleaning assemble the device in reverse order.
Note
Disassembly of the netbook and all the accessories is at your own risk. Any damage caused in the process of disassembly is not covered by warranty. Also, the warranty is void if housing opened by the user.
Useful advice
Before disassembly remove the laptop all devices, in particular SD card.