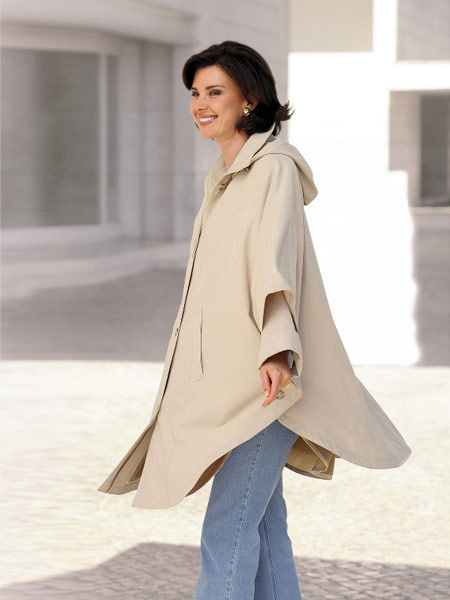
Instruction
1
Take a piece of fabric and draw a circle whose radius is equal to the length of your wrap, and the diameter of the second circle, drawn from the same point as the first, is equal to the volume of the head, plus 4-5 inches - it will be the neck. Cut and cut it in half with the front part.For the hood, cut two squares are 40 cm and please zakruglenie on each square of the two angles.
2
Now you can gather the Cape. The hood can be made in two ways. The first method: fold two pieces, right sides inside, sew and finish piping.The second method is: fold the wrong side inside, sew on the front side, turn and sew the seam slightly wider to hide the previous seam and not let the thread to sleep.
3
To sew the hood and attach it to the Cape, the length of the bottom of the hood should equal the neck of the Cape, sew with bias binding or in the same sequence as collected by the hood.
You can now process the edges. Treat them with bias binding or twice podrachivaya and route line.
You can now process the edges. Treat them with bias binding or twice podrachivaya and route line.
4
To the edges of the neck capes sew the clasp - it can be lace, loop and button, button to cloak securely held on your shoulders.If you need a Cape with sleeves, then the pattern can be done differently. Fold the fabric four times, draw on it half of the kimono, cut the corner - the future neck cut out kimono, cut the shelf in half. The side in this wrap process as well as the hood.
5
To make the cloak more interesting, add a little imagination. The bottom of your zipper before treatment can be rounded, hem can sew lace. Sew around the edge of the hood, beads, pearls - and you have an evening wrap, glue the rhinestones - you have a glamorous piece, robe of thick fabric can be finished with fur, for a child, stick the application with his favorite hero. And if you run a Cape made of polyethylene, then you have exclusive raincoat.
