Instruction
1
Install the bike in a comfortable position, in the event that it does not fall. The fact that the removal of the carriage requires some effort, and the precariousness of the structure may strongly interfere.
2
Put the bike chain on the smallest driving sprocket, and then remove it. The boot has two holes in which to insert the appropriate tool, and then Unscrew the part from the connecting rod. Under the boot you will see a hollow bolt that twisted off the hexagons on 10, and then hold down the pedal.
3
Remove the washer located under the bolt, and completely remove the inner screw of the puller. Unscrew the puller from the connecting rod and remove the latter from the carriage. Repeat the same operation with the second axis.
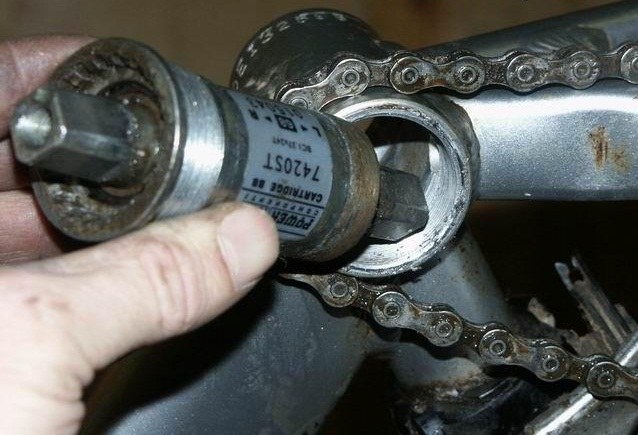
4
Take a special wrench and loosen the lock nut with right-hand thread, which is located on the carriage on the left side. It is necessary to make some effort, but do not overdo it so as not to break the key or damage to the item. In some designs bike the nut is missing.
5
Insert the slotted groove key for carriage. Remove from the frame with a wrench left Cup adapter which has a right-hand thread. In this case, use tools with long handles to make it easier to rotate and make the effort. Remove the left-hand Cup with bearing.
6
Go to the right side of the bike on which the sprocket. By a similar method remove the frame from the right Cup, which has left-hand threads. If necessary, make the effort.
7
Remove the cartridge or the right Cup with the axis of the design of the bike. Thus, the carriage will be lifted. Clean it from Stroy grease with a cloth, then wash all parts in solvent, for example, in kerosene. After they dry out, lubricate the carriage and install back in the bike.