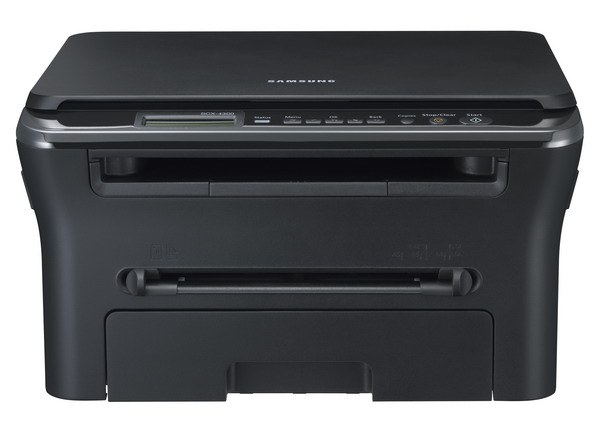
You will need
- Screwdriver.
Instruction
1
Disconnect the device from the power source, open the top cover and remove the print cartridge, remove the power cord and the cable connecting the printer to the computer. Install the switch so that it does not interfere with the removal of the wall of the printer.
2
Flip the device over and Unscrew the screws in the rear panel using a Phillips screwdriver, in this model there are 4 of them. Do the same with the screws on the fuser. When you remove it from your printer, be extremely careful not to break the sensor paper exit.
3
Lift the scanner area so that showed a special attachment, otdelnie them in order to remove one of the side covers of the device. Be careful, these mounts are not quite reliable.
4
Do the same on the other side. After remove all the walls, you should see the reducer unit, Unscrew the mount and remove the device. Bolts from the various parts of the printer and fold separately to further avoid damaging the thread.
5
Remove the laser scanning device, and disconnect feeder. Best clean the internal parts of the printer. This is especially necessary in the case that were printed a large number of pages. Also the remains of the toner may be contained in the cartridge. Reassemble the printer in reverse order.
Note
If you are disassembling for the first time, it is best to have a manual that you can find in standard. Before the expiry of the warranty period, provide the unit employees of service centers, as this may deprive you of the obligations of the manufacturer.
