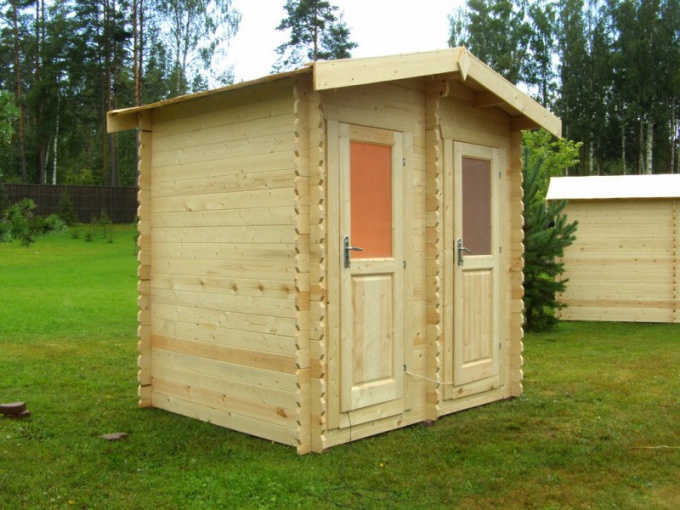
Instruction
1
Decide the location of your building on the site. As it will be a drain hole, place it closer to the road, to the special vehicles could drive up and empty it if necessary. Try to keep the toilet as far away from the well, if available.
2
Dig a deep hole. The depth should be at least 1.5 metres. The walls are overlaid with a brick in a checkerboard pattern. In the gaps between the bricks will absorb the liquid, but the earth to pollute it in this case, it will not. Top-hole close tightly, leaving a hatch for pumping.
3
Make the frame of the building over the pit or close to it. Its size will depend on the desired dimensions of the shower and toilet. To make it from any materials, but is most commonly used hardwood timber.
4
Upholster the frame with clapboard. Strengthen all the boards exactly to avoid misalignment. The inner part is also can be finished with boards. This design is not heated, i.e., operates only in the warmer time of the year.
5
Cover the roof with roofing felt or other material for roofing. It should not leak. The most convenient option is to do a slanted roof, so it does not accumulate water. But it is inconvenient if you plan to place on it with tank water.
6
Buy a toilet and shower cubicle. First you'll have to purchase necessarily shower you can make yourself. Also need a large water tank. It is usually fixed on the roof. Tank volume depends on the force of water pressure. The lower the pressure, the greater must be the capacity so that water accumulated in advance. To heat water can approach the heat of the sun, but you can buy a special heater.
7
Reinforce the purchased equipment, swipe in the building water. The usual irrigation water is suitable for this purpose. Also install drains: pipe average diameter, which will display all in a special pit, which was dug earlier. Keep in mind that in the toilet and in the pipes should not stagnate water. In winter it must all be drained to avoid burst pipes.
8
Make the internal decoration of the room. After installation, you can paste the wall, paint them or subjected to other processing. If built shower and toilet you plan to use in the winter, you'll have room to further insulate.
Note
"Summer" or "garden" shower at the cottage — an indispensable thing, is the dream of every vacationer... How nice after a hot day take a refreshing, invigorating, fatigue-relieving shower. And what a great joy and delight he brings the kids! If your country is still no shower, it's time to its construction. The easiest option is a simple shower stall and placed on top of the water tank, it is possible to build with their own hands .
Useful advice
How to build a shower at the cottage. Outdoor shower at the cottage is simply necessary from the hygienic point of view. Really want to cool your body under the shower on a hot day. Pool or pond in the country has not at all. Therefore, we will build a shower! If you use the cottage only in the summer. For the construction of baths will require a decent amount of money and a place in bath and shower is a minimum cost for the fun of it and to place it will be possible only on the space 1,5x1,5 m
