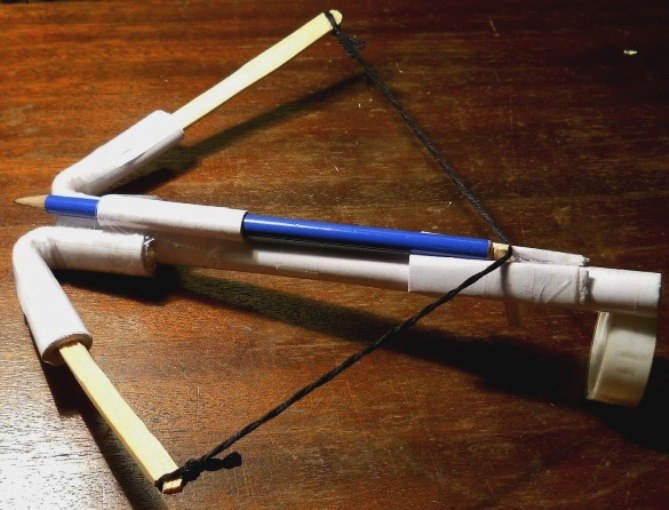
What you will need for making a crossbow
For making a paper crossbow you will need:
- 10 sheets of A4 paper;
- Scotch;
pencil;
- Popsicle sticks;
- scissors;
- thick strong thread.
First, you need to make the body of the crossbow, which consists of:
- the upper arms;
- the main part, which is called a bed;
- the trigger mechanism.
Below you will learn how to make a crossbow out of paper with their hands. If you want to see this process clearly, after reading the instructions, watch the video about the making of this DIY.
Step one: make shoulders
Take four sheets of paper, fold them in half on the long side and cut along this fold. Now take one half, consisting of four cut sheets. Very carefully twist them into a tube around the pencil and secure with tape so he couldn't unwind. It is best if you first wound the tape to the middle and then the edges.
Take the remaining part of the cut paper again and twist the tube. To make it easier to do this, put the pencil away from the edge, fold the paper around the pencil and leave a bit of paper, so you can put it under the pencil. Start to twist tight and even a tube.
Next, measure four inches from Popsicle sticks and on the tubes. Now insert the wand in the tube to the mark and break off the rest of the mark. Now take two more sticks and insert in the tube with the other hand perpendicular to the sticks already inserted. Then wrap with tape the paper tube so that they are unable to break or unwind. This will also give them progenitor, so that your arrows will fly. Then bend the tube at the level of four centimeters.
Step two: master bed
You'll need five sheets of A4 paper. They need to twist the short side. So it was easier to make, again, use a pencil. Then secure the edge of the duct tape.
Now connect the shoulders and the bed. For this purpose one end of the large tube should be more flat. Then take a bent tube and attach to preplanetary the end. It is best to take one and hold them together with tape so nothing collapsed. Do not spare the tape in this place, as it is the moving part of the crossbow.
You want the thread is not hung, but rather was drawn to the shoulders of the crossbow to each other.
Pull the string, to do this, tie one end of thread to one arm of the crossbow, then Express the length from one end to the other plus two inches and attach to the second shoulder. Thus you now have a mask crossbow.
Step three: make the trigger mechanism
Pull the string down, so it formed a square, and mark this spot with a pencil. Then with a paper knife or other sharp object penetrate through a small hole is marked. It is necessary that the lower side of the slot was a little larger than the top, so the trigger had a stroke.
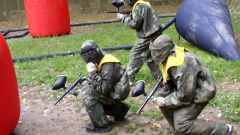
It is worth considering that the use of a crossbow may have a grown up child (student).
The trigger itself is made of little sticks, which insert into the slot, the top should stay a little tip, and the bottom more to you it was convenient to move him. You need to make two small tubes and keep them on top next to the trigger, to be able to insert the arrows. Insert the arrow (pencil) and verify your crossbow. Be careful: just as in archery with a crossbow needs to exercise caution to avoid injury. Before operation be sure to explain the rules for its safe use with your child.