You will need
- - Screwdriver,
- - pliers.
Instruction
1
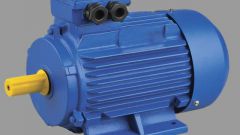
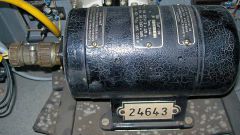
Examine the electrical characteristics of the connected motor. They can be found in the passport or on the plate bolted to the housing of the mechanism. There are recommended wiring diagram for various supply voltages 3-phase network.
2
Verify that motor shaft rotates freely. To do this, rotate his hand. First start induction motor is better to do without the load, since some desirable mechanisms to rotate in the opposite direction, so do not connect the flanges of the drive clutch prior to the end of connection of the motor.
3
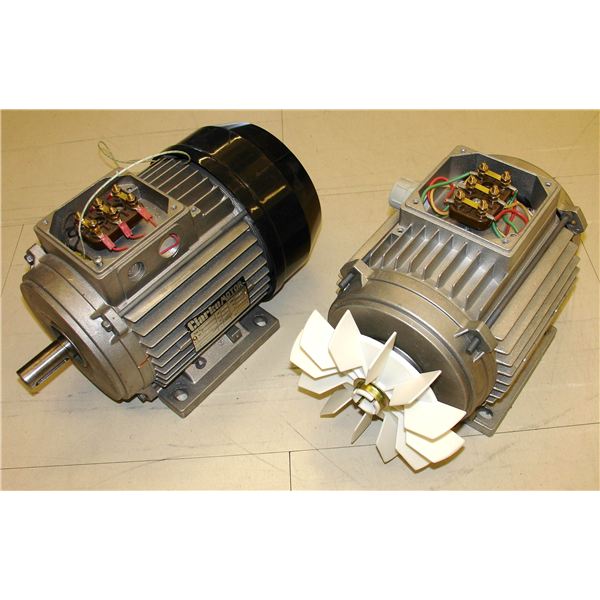
Remove the cover on the terminal block of the motor and see how the jumpers are set. Method jumper setting determines the scheme for the motor connections. The jumpers connecting the 3 pins in the second row form a star schema. Is a common wiring diagram for 3-phase motors 3-phase network with voltage of 380V. When you install the jumper, closing the adjacent pairs of contacts 3, it turns out the scheme "triangle". It is used to activate the motor in 3-phase network with voltage of 127V.
4
Select the desired connection and install jumpers in the correct order. As widespread 3 phase network has a voltage of 380 V, to connection, use a star schema.
5
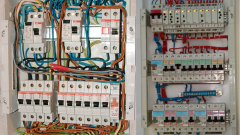
Unplug the machine, interrupting the supply circuit of the motor. Never work with wires under the voltage-fed 3-phase is very dangerous.
6
Connect the lead wires to the motor.
7
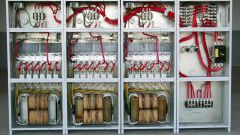
Assemble scheme of the controller starts and stops the motor.
8
Turn on the machine and controller can do a trial run of the motor.
9
If the motor rotates in the reverse direction, turn off the circuit and swap any 2 wires. This will change the direction of rotation.