Instruction
1
First you need to see if in the wall wiring. You can then run the layout on the wall. For this purpose usually use a level and plumb. The wall must be drilled through a few dozen times. Using the same drill bit you need to connect the hole. In the end, is formed a longitudinal slit. It is possible to insert a normal saw for wood and to produce the cutting scheduled portion of the walls. Remember, you may meet a passing valve. Remove it by using the grinding machines. After cutting you need to pull out of the wall rectangle. Please note, there will be a lot of debris and dust in the room. Pre-close or remove all the furniture.
2
You can then start leveling slopes. For this job you should have a wide spatula and plaster. Special attention should be paid to surface alignment of the saw cut horizontally, where you will be mounting the carrier platform. Let the plaster dry. Then, using a spatula, apply four aligned end silicone. Thus you will protect gipsolitovye the wall from moisture.
3
Then, you can proceed to mount the supporting platform on which you will place the aquarium. The so-called Foundation can be made of sheet metal. It needs to be not thinner than 10 millimeters. From sheet iron cut with a grinding machine image of the bottom of the aquarium. Ensure that the metal does not overheat. Otherwise, it can move or bend. After the cut piece of iron of the required size, need to trim her ends. You can try it for a prepared place.
4
To fix this design can be used 100 × 6 mm screws. To mount it safely, you have to drill out the holes and plaster them on PVA glue press chopiki which are made of solid wood. You can now install the aquarium itself.
Note
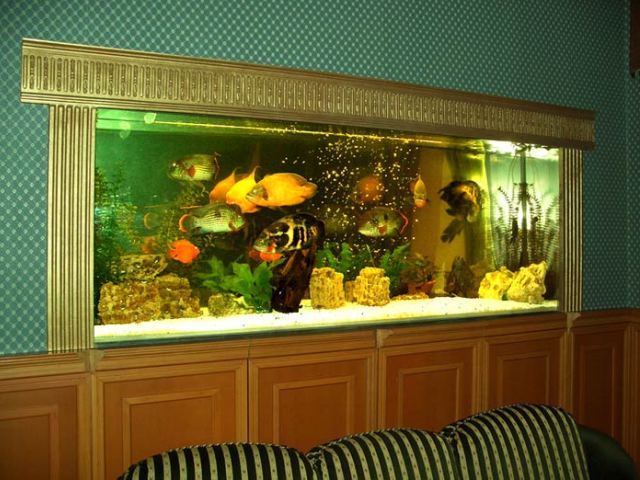
Aquarium in the wall is supposed to look either on the one hand, the glass of the aquarium only one or two, with three sides then glass two or three, respectively. A common property of such aquariums the at least one wall of the aquarium without glass.
Useful advice
Aquariums in the wall - it's stunning design and high quality materials. This is a great addition to any home interior or office. This aquarium looks like a thin LCD or plasma TV, but contains little of akvamir.