Instruction
1
Prepare for drawing of soft and hard pencils, sheet of quality paper for drawing, eraser, and paper cones for shading.
2
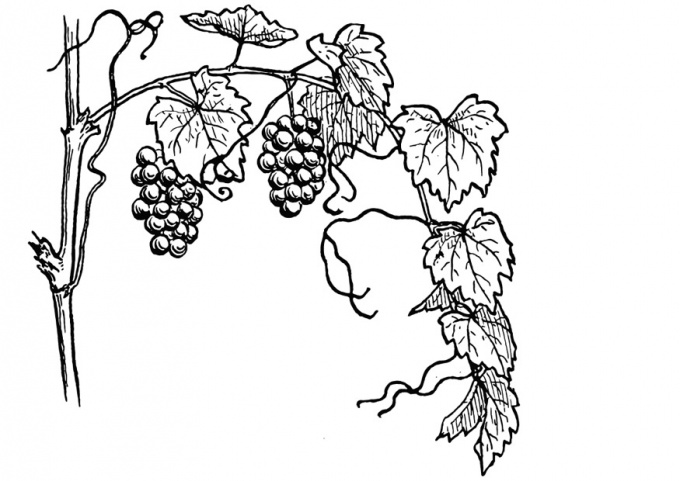
Take a pencil and draw the outlines of the berries of the grapes, respecting the proportions. The lower part of the grapes should be slightly wider than the top. Finish on the berry stalk, and then determine where the shadow fell, and make a sketch of the shadow that follows the shape of grapes with the stalk. Lighten the sketch lines using a thin eraser, making the loop as light as possible, then start shading pattern cross-hatch.
3
Lightly stroke the grape, making cross-strokes, and then draw the same hatch shape and the shadow volume. Determine which parts of the grapes will be the most bright and set on them bright region rounded touches that will enhance the surround effect pattern.
4
Try the Crosshatch to achieve the most smooth transitions between light and dark shades to make the drawing look organic. Making the first layer of shading, add more shading perpendicular to it, making the shading around the bottom right side of the berries more intense.
5
Gradually add the hatch, extending it from bright highlight to the edges of the grape. Strive to ensure that a dark tone gradually and imperceptibly passed in a light tone, which, in turn, goes into a glare. Along the bottom edge of dark berries slide eraser a curved thin strip to create a light reflex. The stalk of the berries also add a few shadow strokes.
6
Determine where will host the falling grape shadow, draw a few straight lines that will guide her, and stroke the shadow, making it lighter as the remove from the berries. The closer to grape fit shadow – so it will be darker.
7
Finish the drawing by shading – use the special tools or twisted paper cone. Do not touch the drawing with your fingers, blend the transitions between the hatch only using the selected tool. The stalk of the grape leave rough – smooth and shiny should only be the surface of the berries.