You will need
- Epoxy car putty;
- -spatula;
- -automotive paint-color of your body;
- -sandpaper or timber;
- -brush, roller, sponge or spray gun;
- -a piece of drape or other coarse cloth.
Instruction
1
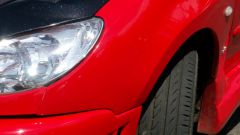
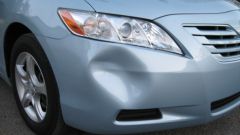
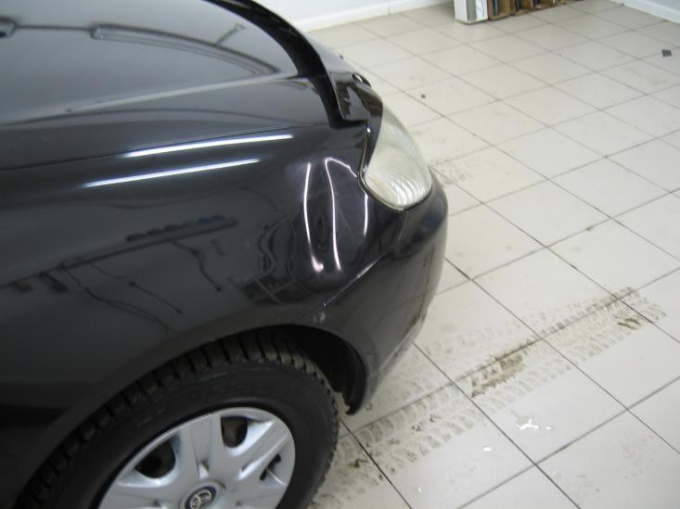
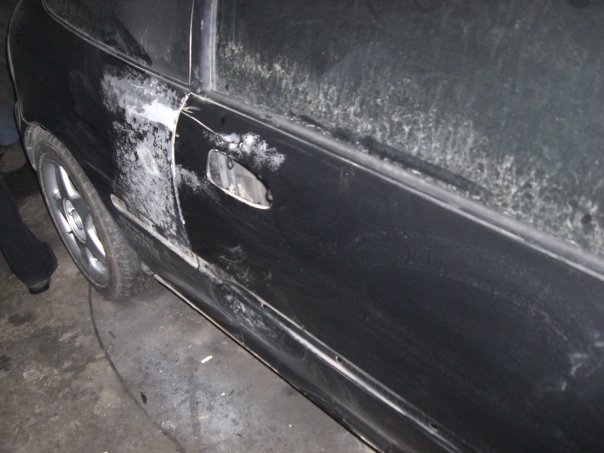
Treat the surface of the dent with sand paper or a diamond whetstone with a fine abrasive. The main thing is to clean the whole surface gently, leaving the old paint or other finishing marks. Clean the dent, capturing a small portion around. This should be done for uniform distribution of filler and a good coupling with the metal.
2
After Stripping the dents be sure to degrease the treated area. Remove the moisture and particles of paint left on the dent under the influence of static electricity.
3
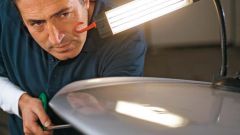
Apply epoxy putty to the surface of the dent, capturing the area around her. Do not attempt to align the putty to "zero" with the wing surface. First, after drying it a little "sit down", and secondly, after drying, you will still need to Polish the treated place.
4
Wait for the complete drying out of putty exactly to withstand the time specified in the instructions for use. Using a coarse piece of cloth Polish the surface of the wing where it is applied plaster. You must ensure that the surface was smooth, with no irregularities and have no inclusions.
5
Apply the paint to the treated area of the wing. What you do depends on your preferences and skills of painting. You can use a brush, roller, sponge or paint restored piece with the spray. Dry the surface of the painting. Dry the car surface, or, waiting for natural drying, or by placing the wing in the drying chamber. In the latter case, the alignment process is greatly accelerated.
6
The method described above the alignment of the dent on the fender not the only one. There is also a method, when the dent is pressed out from the inside.
Note
If you have no experience in squeezing dents from the inside, it is strongly recommended to Bondo a dent. This method is the most simple and easy and will not lead to additional deformation of the surfaces under the sloppy performance of work.
Useful advice
When painting the wing manually, you can use a household Hairdryer. The injection of hot air will not only speed up the process of drying, but also will help you to apply paint evenly.