You will need
- keys
- - new rings
- - engine oil
- - hammer
- - probe
Instruction
1
Put the car on a rack or a viewing hole. Remove the battery, distributor, carburetor, air breather hose, air filter housing. Drain the oil from the sump of the engine.
2
Disconnect the wire from the sensor indicating the temperature of the coolant, the key remove the pipe plug from the engine block. Drain the engine coolant. Loosen the clamp and remove the nozzle head hose "stove".
3
Fittings from the intake manifold disconnect the hose of the brake booster and coolant. Remove the hoses from the spigot on the front of the head unit.
4
At the bottom of the car remove the retaining clamp bolt to transmission with the host pipe, disconnect the pipe of the resonator. Unscrewing the 4 nuts connecting the exhaust pipe to the manifold, disconnect the pipe from the engine.
5
The upper nut securing air manifold remove the mechanical key. The front part of the flap secures the starter motor lower nut, Unscrew it with a key "on 13". The rear part of the flap loosen together with pin. In the exhaust manifold will appear through hole.
6
To facilitate removal and installation of the shield remove the lower eyelet mount. Then take the key "to 10" and remove the mount caps of the head. To relieve chain tension, loosen the cap nut its the tensioner. Through the circuit, push the pry bar on the tensioner Shoe. After the tensioner plunger drowned, tighten the cap nut.
7
Bend the lock washers from the antenna and Unscrew the screw securing the camshaft sprocket. Remove the sprocket and tie up chain to prevent it from falling down. Starting from the basic labels that apply to the sprocket through 90 degrees three more markers. This will facilitate the adjustment of the clearances of the engine.
8
Remove the camshaft housing stud head block by unscrewing the mounting nut. Unscrew the bolts fastening the cylinder head, then remove the bolt from the distributor. Remove the cylinder head gasket. The key "13" Unscrew the nuts used for fastening engine mounts.
9
Lift the engine over the cross member to clear the pan. Using the Jack raise the vehicle until it leaves the left front wheel. Inside the heads of the bolts retaining the sump, replace the stops and slowly lower the car. Left engine mounting will depart from the pillow. Insert into the gap formed bar of suitable size and remove the stop.
10
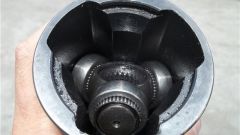
Remove the screws from the pallet and remove it. Disassemble the oil pump, the connecting rod caps with bearings. Light tapping with a hammer handle push the piston with the upper liner and the connecting rod. Do not change the liners in some places, if you do not intend to change them for new ones. Clean the upper part of the cylinder of carbon.
11
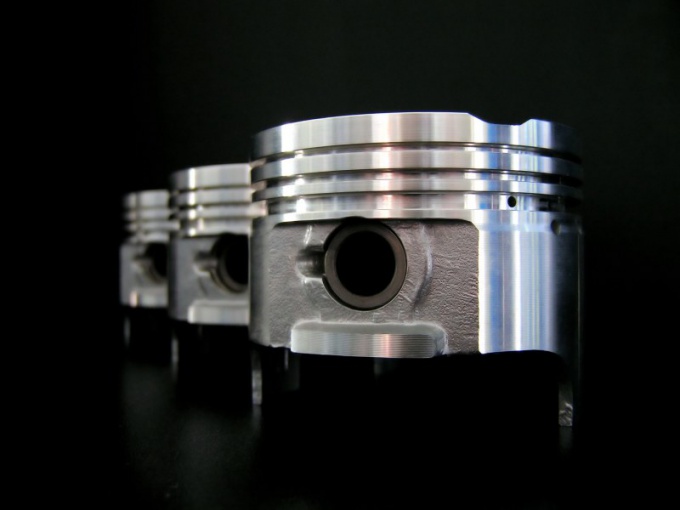
The top compression ring, insert into the cylinder to a depth not exceeding 5 mm, and measure with feeler gauges the gap in the joint of the ring S1. Moving the ring at the 8-10mm, measure the clearance S2. Calculate the wear of cylinder the following formula: (S2 - S1)/3,14. If the score is less than 0.15 mm, replace the worn rings on par.
12
Check to see if it will fit in the cylinder new rings. To do this, place them in not worn, the upper part of the cylinder. The joint at some rings if you need prepelita needle files. The joints not worn rings in the cylinders should lie within the following limits: 0,30-0,45 mm for the first compression; 0,25-0,40 mm – for oil control and second compression. When worn cylinders focus on smaller targets.
13
Before you install a break in the ring grooves of the pistons. Install rings on piston. Be careful not to break the rather rigid second ring having a groove in the bottom. Clean the mating surface of the block of carbon and the remnants of the strip. Two crankpin set at bottom dead center. Lubricate the piston and cylinder with motor oil. Install half of the liner in the connecting rod and lubricate it also. Insert the piston into the cylinder.