Instruction
1
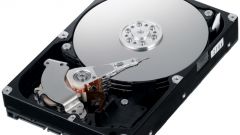
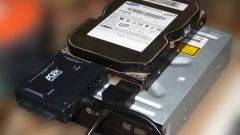
If you connect a hard disk BIOS usually detects it by yourself, no problems with this should arise. But given that hard drives have different interfaces – the old IDE and new SATA should check the installation and, if necessary, to set the desired. If you had previously been exposed to IDE, the SATA drive, the computer will see, but Winchester will be much slower than it should.
2
To make in the BIOS setup any changes in the base system I / o, you first need to log in. Usually when you start your computer, a tooltip – for example, Press F2 to enter setup. If this tip doesn't work, try the following keys: Del, Esc, F1, F2, F3, F10. Sometimes used key combinations example: Ctrl+Alt+Esc, Ctrl+Alt+Del, Ctrl+Alt+Ins, Fn+F1.
3
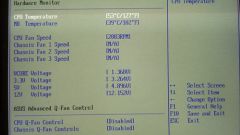
After you enter the BIOS you need to find the right place to change the settings. Given that the BIOS are different, look at the tabs mention SATA, IDE, AHCI. Having found them, change IDE to SATA by selecting the required values from the list. The desired value can be designated as SATA and AHCI MODE or AHCI MODE. In some cases you just have to put the IDE item is set to disabled (disabled) and SATA you set enabled (enabled).
4
After installing the required values, save the changes by pressing F10. In the resulting window, choose Yes or type Y and press enter. After a reboot the drive will work as required.
5
Sometimes user tries to change the value in BIOS the SATA to IDE, because if you attempt to install the OS, the system reports that not one disk. The reason for this lies in the lack on the installation disk of the SATA drivers. One of the solutions to the problem is the temporary transfer of the disk in IDE mode, but the right will just find a new installation disk with Windows. Disks for Windows 7 and Windows XP SP3, this problem is not found.
6
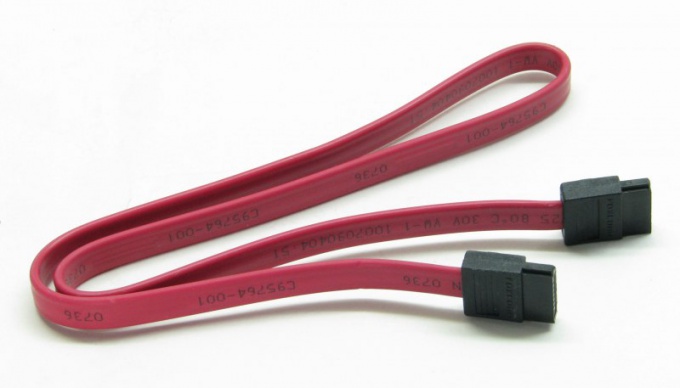
Don't forget that SATA drives different power connector than IDE drives with interface. To connect, you may need a power adapter.