You will need
- Adobe Illustrator
Instruction
1
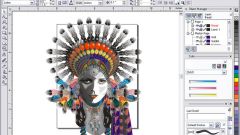
Launch Adobe Illustrator and open the image you want. To do this, click the menu item File > Open (or use the hotkey Ctrl+O), select the desired photo and click Open. The photo will appear in the workspace of the program.
2
Click on the phototo select it. After the Control panel (located under the main menu) will change its appearance to display the new buttons, fields and other interface elements. One of these buttons is Live Trace, auto trace. If you click on it, will automatically convert raster images to vector according to the parameters that are set by default. In the fourth and fifth steps of the instructions, you will learn about how to change these settings.
3
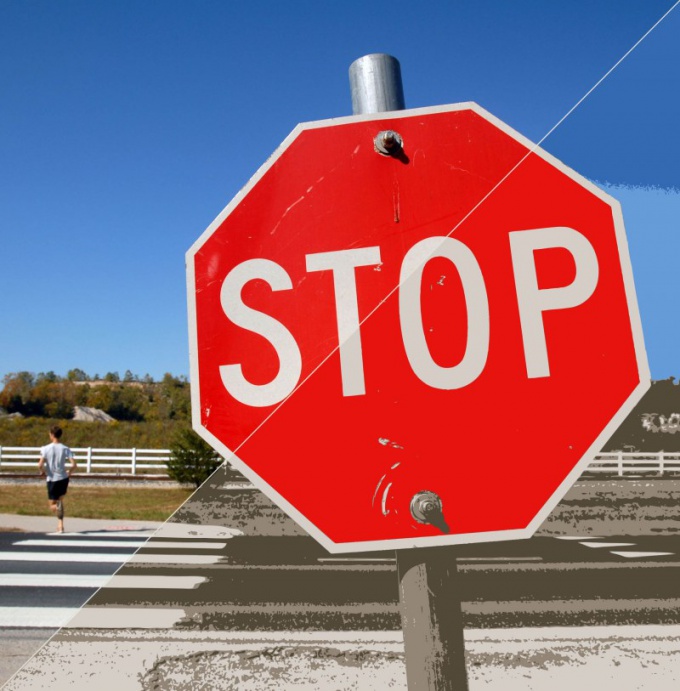
Click on the button with the triangle to the right of the Live Trace. A dropdown menu will appear where you can choose one of the options of automatic tracing: photography (Photo Low Fidelity Photo High Fidelity), a black and white picture (Black And White Logo), technical drawing (Technical Drawing), etc.
4
To further customize the auto-trace, click Tracing Options. This can be done in two ways. First – select the lowest item from the drop down menu that you accessed in the third step. Second – click menu Object > Live Trace > Tracing Options.
5
For a start, check the box next to Preview. Now any changes you make in the Tracing Options menu will be automatically displayed in the workspace of the program. In paragraph Mode, you can configure the tracing mode: Color (color), Grayscale (brightness) and Black and White (black and white). Hereinafter, the Threshold (threshold), Palette (palette) Max Colors (maximum colors), Blur (Blur) and others.
6
To save the result, click the shortcut key Ctrl+S, select the path to the future file, give it a name and a format that supports vector graphics (e.g. *.AI), and click Save.
Useful advice
If you need to cancel an action (or multiple actions), or Vice versa, to return to him, use the shortcut keys Ctrl+Z (step back) and Crtl+Shift+Z (step forward).