You will need
- Phillips screwdrivers in different sizes
- Thermal grease
- Microfiber cloth
Instruction
1
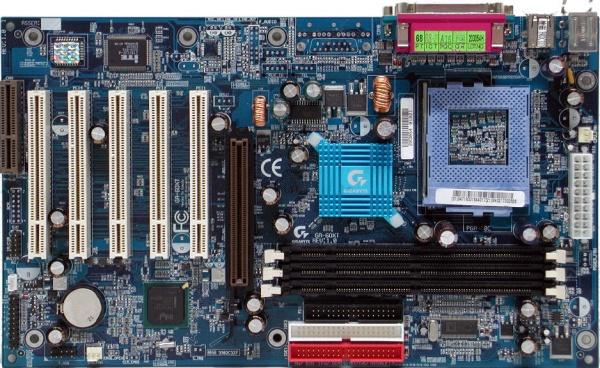
The choice of the motherboard. When choosing a new motherboard under existing devices, consider the following elements:1. The socket of the processor.
2. Connector adapter.
3. Model RAM.
4. The type of connection the hard drive.
5. The number of PCI ports.
Write down all these settings (5th if necessary) and buy the parent fee, to meet your requirements.
2. Connector adapter.
3. Model RAM.
4. The type of connection the hard drive.
5. The number of PCI ports.
Write down all these settings (5th if necessary) and buy the parent fee, to meet your requirements.
2
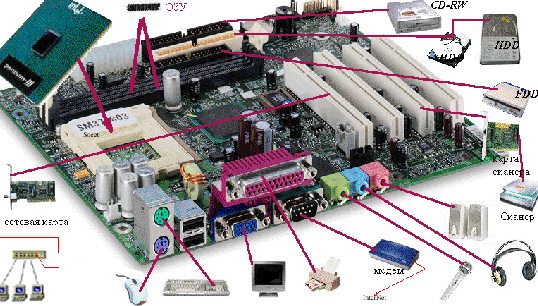
Removing the old motherboard. Remove the left cover of the system unit. Disconnect all devices from the motherboard and remove them. The most difficult is to remove the CPU and its heatsink. Be careful not to touch pins of the processor with your hands, and in the case of erasing thermal paste – apply new when you connect to the new motherboard. Disconnect the power to the motherboard (usually two loop). Unscrew all the screws that the motherboard is attached to the system unit and remove the old parent fee.
3
Install a new motherboard cost and securely fasten it with screws to the housing unit. Connect the power to the motherboard, and then all the devices you have available. Please note a few points:1. If you have multiple RAM modules, plug the same strap into the slots of the same color. This improves the performance of the RAM.
2. Connecting the CPU, make no mistake about its location relative to the socket.
3. In case that your hard drive format IDE and the new motherboard works with SATA, it is possible to connect the hard drive to the ribbon cable from the DVD.
2. Connecting the CPU, make no mistake about its location relative to the socket.
3. In case that your hard drive format IDE and the new motherboard works with SATA, it is possible to connect the hard drive to the ribbon cable from the DVD.

