Instruction
1
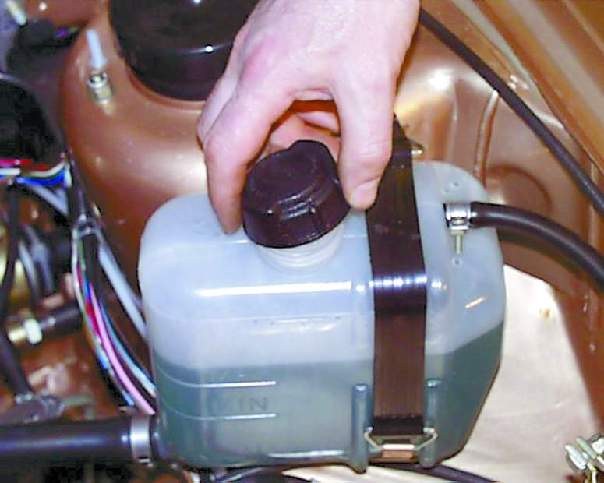
First check the radiator cap for mechanical damage, scratches, cracks, wear and rust.
2
Since any cover consists of three parts: rubber mounting, snap ring and metal tip, check the spring. For this purpose it is necessary to compress. If you managed to do that easily, then it's time to change because the spring takes the pressure and it is simply elementary to disrupt, if she misses the pressure.
3
Pull the vacuum valve, open it and verify that it closes completely when released.
4
Check the saddle of the vacuum valve radiator cap for dirt. Make sure that when opening and closing the vacuum valve there is no deviations from the standard.
5
Check the pressure relief radiator cap. To do this, attach to it a special device and screw the pump on the lid, respecting the instructions and power it up to open the valve. Don't forget to increase the pressure until, until the meter pointer will not cease to move. Remember that the opening pressure of the outlet valve is (to 107.8±14,8) kPa and the closing pressure of the exhaust valve about to 83.4 kPa. If the pressure is specified value, replace the radiator cap.
6
The same device can be checked and the cooling system for leaks by placing it on the neck of the radiator. Create a pressure of 1.0 ATM, and check that the manometer showed this value for 2 minutes. Otherwise, the cooling system has a leak, which is easy to detect the leakage of the coolant.
7
Very carefully to purchase a new cover, as not all of them can go. Focus on the marking of the old cover.
Useful advice
Change your cover at least every 2 years when cleaning the radiator.


