You will need
- - Arduino;
- - a personal computer with the development environment of Arduino IDE;
- driver L9110S engines or equivalent;
- - collector electric motor;
- - connecting wires.
Instruction
1
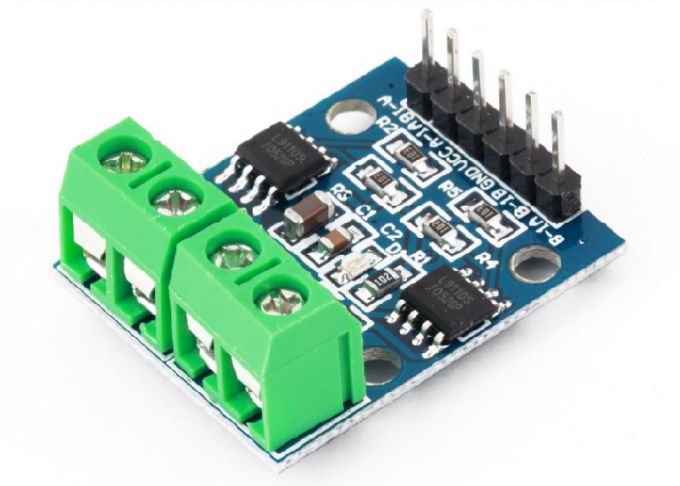
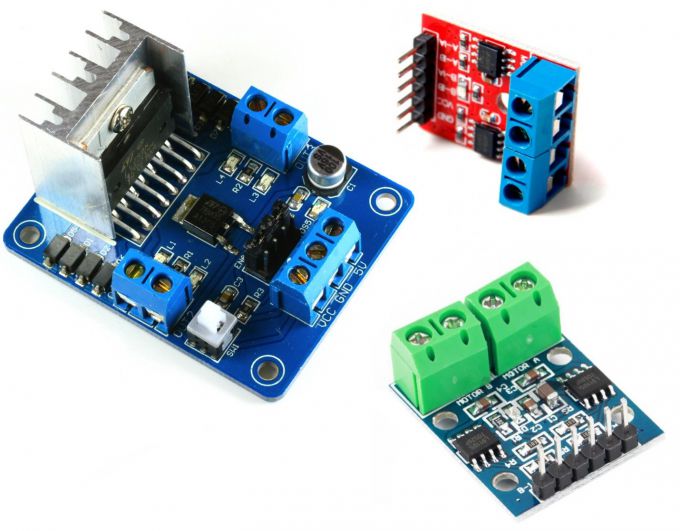
Directly plug the motor to the conclusions of the Arduino is impossible: there is a risk to burn the output that is connected to the engine. For safe connections of electric motors of different types to the Arduino required a homemade or commercially made driver engines. Motor drivers are very different. The most common type HG788, L9110S, L293D, L298N, and others. Motor drivers are the power pins for the connection of motors and control insights. In this article, we are going to use the driver to control the motors are made on the basis of chip L9110S. It is usually available in cards that support the connection of multiple motors. But to demonstrate we'll do one.
2
The simplest motors - collector motors. Such motors are only two control contacts. Depending on the polarity of the attached voltage changes the direction of rotation of the motor shaft, and the value of the applied voltage changes the speed of rotation.
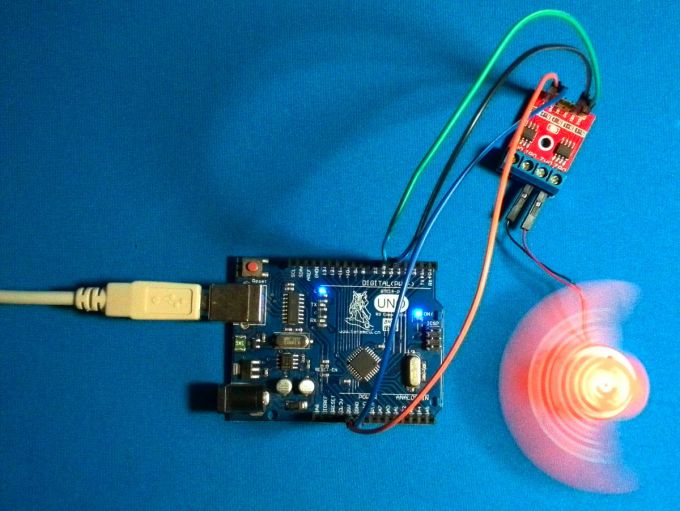
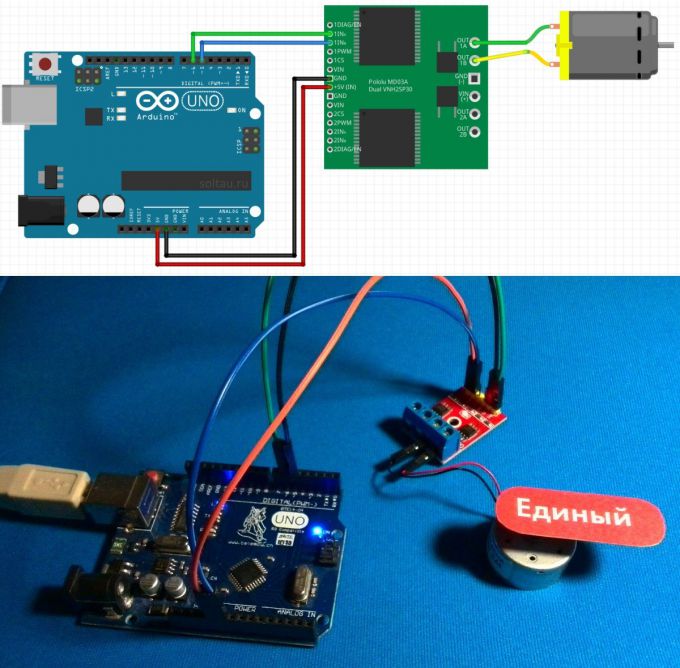
Let's connect the motor according to the enclosed scheme. Power motor driver - 5 V from Arduino, to control the speed of rotation of the rotor of the motor control contacts are connected to the Arduino insights that support PWM (pulse width modulation).
Let's connect the motor according to the enclosed scheme. Power motor driver - 5 V from Arduino, to control the speed of rotation of the rotor of the motor control contacts are connected to the Arduino insights that support PWM (pulse width modulation).
3
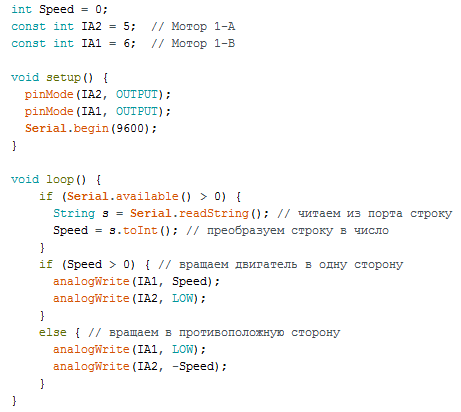
Write a sketch to control the collector motor. Declare two constants for the legs that control the engine, and one variable to store the speed values. Will transfer to the serial port the value of a variable Speed and change thus the speed and direction of rotation of the motor.
The maximum speed is at the maximum value of the voltage which can give the motor driver. We can control the speed of rotation, the feeding voltage in the range from 0 to 5 Volts. Since we use digital legs with PWM, the voltage is regulated by the team analogWtirte(pin, value)where pin is the pin number on which we want to set the voltage, and the argument value is a coefficient proportional to the voltage value that takes values in the range from 0 (the voltage at the output equal to zero) to 255 (the voltage at terminal is equal to 5 In).
The maximum speed is at the maximum value of the voltage which can give the motor driver. We can control the speed of rotation, the feeding voltage in the range from 0 to 5 Volts. Since we use digital legs with PWM, the voltage is regulated by the team analogWtirte(pin, value)where pin is the pin number on which we want to set the voltage, and the argument value is a coefficient proportional to the voltage value that takes values in the range from 0 (the voltage at the output equal to zero) to 255 (the voltage at terminal is equal to 5 In).
4
Upload the sketch into the Arduino memory. Run it. The motor is not rotating. To set the speed of rotation, need to transfer in serial port with a value from 0 to 255. The direction of rotation is determined by the sign of the number.
Connect using any terminalki to the port, will give number 100 - the motor will rotate with medium speed. If you submit the "minus 100", it will start to rotate at the same speed in the opposite direction.
Connect using any terminalki to the port, will give number 100 - the motor will rotate with medium speed. If you submit the "minus 100", it will start to rotate at the same speed in the opposite direction.