You will need
- soldering iron, solder, solder flux, new chip, reference circuits, a sewing needle.
Instruction
1
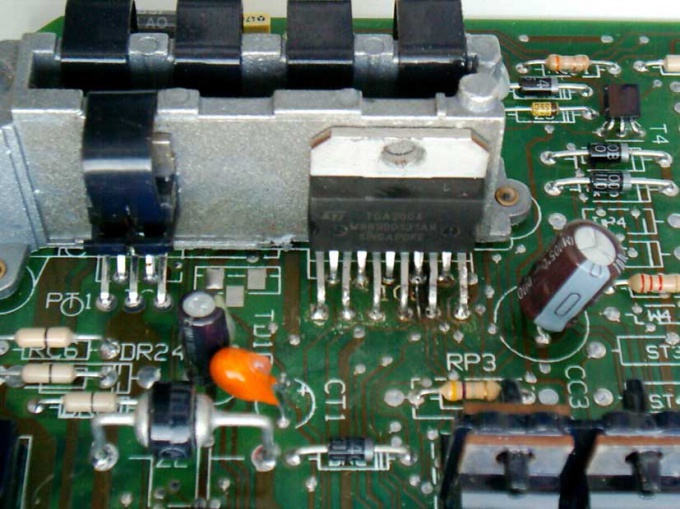
To replace the chip, you first need to know its brand. For this, we must read the marking on the housing. There are times when part of the body burn out from overload or excess voltage and not read the title, then I need a schematic of this unit. If there is no schematic on a sheet of paper to draw a schematic diagram of strapping electrodes of this chip and by using the reference to find a possible analog.
2
Now you need to remove the old chip. If vpaivaetsja powerful chip, mounted on the radiator, before desoldering it from the Board, disconnect it from the radiator. Note which side had the key on the chip to correctly put the new chip. There are several ways to remove chips from circuit boards:
-A mouthful of all electrodes with wire cutters.
-Unsolder each lead individually, separating the electrode and solder pad with a needle for a syringe of suitable diameter. In this first melt the solder with the soldering iron, and then the electrode is put on the needle for syringe. Gently turning the needle, bury it in the mounting hole on the PCB. So come with all electrodes of the chip.
-Removing the solder using desolder – thick beam of highly active thin wire. Desolder, collects the solder, leaving on Board at least and then you can force remove the chip from its mounting holes. This is the most popular method in most repair shops consumer electronics.
-Heating the area of the PCB with the help of technical dryer to the melting temperature of the solder, usually 275 degrees.
-Using a special nozzle on the soldering iron, allowing heat from all electrodes. This method is not popular due to the very large range of chips with different dimensions.
3
Removing, in the most appropriate way chip, it is necessary to carefully examine her harness on the Board. Perhaps even some kind of item out of order. There are cases when because of the little burnt resistor, when turned on, goes down a new chip.
4
Making sure that everything is in order, the power supply produces the correct voltage, the rest of the scheme is operational, you can install a new chip. For this it is necessary to remove residue burning older chips, if they exist, because they are a guide with a cloth dampened in alcohol.
5
Using a thin sewing needle, check the patency of the holes. Impenetrable holes of the heated soldering iron and a needle pierces a hole in the molten solder.
6
Set the chip on the Board so that key was on the right side. If the chip is installed on the radiator, pull the bolts from the radiator.
7
Solder each electrode separately. In this case it is necessary to warm up the soldering, the solder took over the electrode and over the installation site and thus not overheat the chip. The optimal heating time of the electrode with the solder for 2 seconds. When soldering, it is desirable to use a flux based on rosin or the rosin. You can use wire solder with applied surface flux.