You will need
- - brick kiln;
- - clay;
- - lime;
- asbestos;
- - salt;
- - blue;
- - trowel;
- - hammer-kirochka;
- - jointing;
- - the range;
- brush;
- - rags.
Instruction
1
Select the method of finishing
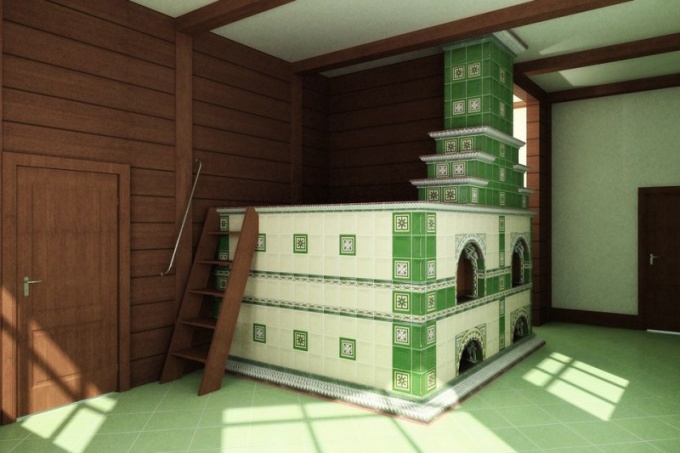
To give the furnace a majestic species, there are several ways: a veneer of glazed tiles, tiles, majolica, or the confinement in a metal box. Undeniably, finishing such an expensive material will give the building elegant look and will decorate the room. But you can elevate the furnace is simple and accessible means: perform jointing or plaster surface. The first involves smooth brickwork and decorative stitches. The second outdated, but common technique, not requiring special skills and substantial costs.
To give the furnace a majestic species, there are several ways: a veneer of glazed tiles, tiles, majolica, or the confinement in a metal box. Undeniably, finishing such an expensive material will give the building elegant look and will decorate the room. But you can elevate the furnace is simple and accessible means: perform jointing or plaster surface. The first involves smooth brickwork and decorative stitches. The second outdated, but common technique, not requiring special skills and substantial costs.
2
Prepare the surface
Clean the bricks from the remnants of dried clay. Inspect existing chips – they need to pay more attention when decorating. For better adhesion of plaster and brick will clear away seams on depth not less than 5 mm, remove the crumbs from all the holes and sweep up dust.
Clean the bricks from the remnants of dried clay. Inspect existing chips – they need to pay more attention when decorating. For better adhesion of plaster and brick will clear away seams on depth not less than 5 mm, remove the crumbs from all the holes and sweep up dust.
3
Prepare plaster mix
Mix the clay, sand, and asbestos in the ratio 1:2:0,1. Each component of the pre-sift through a sieve. Dilute each with water to the consistency of sour cream and get to work, starting at the top of the furnace.
Mix the clay, sand, and asbestos in the ratio 1:2:0,1. Each component of the pre-sift through a sieve. Dilute each with water to the consistency of sour cream and get to work, starting at the top of the furnace.
4
Stukatura oven
Moisten the walls with water and put on her first layer (3 mm) plaster. Each subsequent layer is applied after drying the previous one - its thickness at the end of the finish should be 6-8 mm. the Exception will be where there was a chipped brick and irregularities – are permissible 10-12 mm. After work let it dry and then lightly heat the oven, heating it up to 35-40 degrees. If, after this, it formed cracks, moisten them with water and zarovnaya defects.
Moisten the walls with water and put on her first layer (3 mm) plaster. Each subsequent layer is applied after drying the previous one - its thickness at the end of the finish should be 6-8 mm. the Exception will be where there was a chipped brick and irregularities – are permissible 10-12 mm. After work let it dry and then lightly heat the oven, heating it up to 35-40 degrees. If, after this, it formed cracks, moisten them with water and zarovnaya defects.
5
Whiten oven
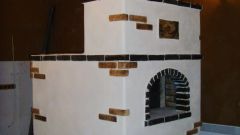
The final stage of finishing is the whitewashing of the furnace. Below the surface is not soiled clothes, prepare the mortar with the salt. Extinguish the lime water or skimmed milk and add table salt (100 g per 10 liters). To make the surface of a special white whitewash add in a few drops diluted in water blue.
The final stage of finishing is the whitewashing of the furnace. Below the surface is not soiled clothes, prepare the mortar with the salt. Extinguish the lime water or skimmed milk and add table salt (100 g per 10 liters). To make the surface of a special white whitewash add in a few drops diluted in water blue.
6
To blend oven another way
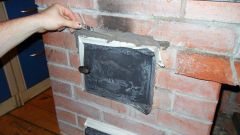
Do the jointing. Pick up a smooth brick kiln without any chipping at the edges and carefully lay the stove. Start the process of pointing to the drying of the solution. After several rows of masonry will seal the joints between the bricks using a special tool. Leaving gaps unfilled by 10-12 mm, you will get a relief surface with a clear pattern of masonry. Wipe off excess grout and Polish oven side bricks. Then sweep up with the brush dust and wipe with a dry cloth. Prepare for the selection of decorative stitches mix, which mix white or orange cement with asbestos powder. RUB it first in a vertical and then horizontal seams. If you like contrasting combinations, underline unravel solution of black clay and fine moulding sand.
Do the jointing. Pick up a smooth brick kiln without any chipping at the edges and carefully lay the stove. Start the process of pointing to the drying of the solution. After several rows of masonry will seal the joints between the bricks using a special tool. Leaving gaps unfilled by 10-12 mm, you will get a relief surface with a clear pattern of masonry. Wipe off excess grout and Polish oven side bricks. Then sweep up with the brush dust and wipe with a dry cloth. Prepare for the selection of decorative stitches mix, which mix white or orange cement with asbestos powder. RUB it first in a vertical and then horizontal seams. If you like contrasting combinations, underline unravel solution of black clay and fine moulding sand.
Note
To not cracks, carry out plastering works after the complete drying of masonry and precipitation of the furnace.
Useful advice
To avoid delamination of the finish when heated, the furnace can be used to apply plaster in a thin metal mesh with a cross section of cells 10x10 mm. Apply it before starting work on the masonry, securing the wire between the rows of bricks. Below the grid was not visible, the thickness of the plaster layer should be at least 10-15 mm.
