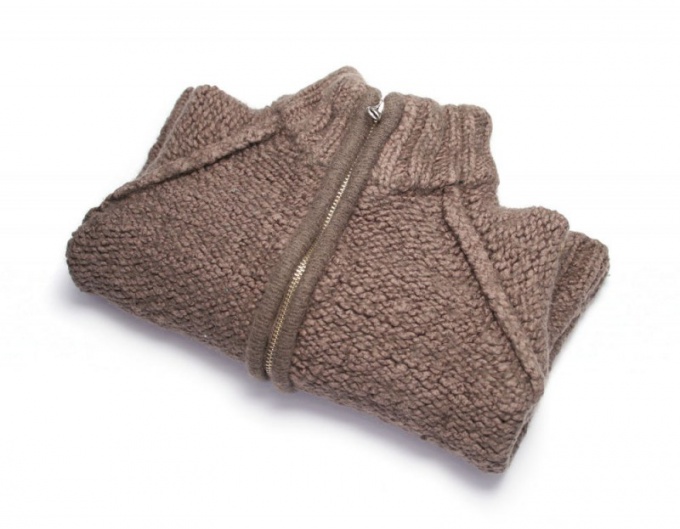
You will need
- - circular and straight needles №3,5;
- - 3 support spokes №3,5;
- - 1 needle number 4;
- yarn.
Instruction
1
Start to knit a garment sleeve Raglan with front and back detail of tailoring. Provarite the forward and reverse ranks of the fabric, until you reach the start of the bevel armholes.
2
Divide all the loops into 3 phases: a smaller Central (this is the front or back of the neck); 2 the boundary of the same size for lines Raglan.
3
Close the loop for armhole on the main product, then you will be ready to focus on the line of bevel and subtract the corresponding areas of the fabric on the sleeves. Practice knitting a Raglanand a specific example. So, for a sweater size 48 it is enough to dial direct spokes (No. 3,5) 106 elementary loops.
4
Start with the gum of the front (1 front – 1 inner loops), 3 cm from the edge of typesetting go to socks and binding (in the front rows are the front side of the clothes – only the reverse). Tie the cloth at 35-40 cm tall.
5
Start shaping the bevels Raglan. For this purpose, the opposite edges of the work symmetrically close the loop. In the beginning of the row (right armhole) remove banding, proverite 2 stitches front; the next couple of loops vivacite together with the slope to the left. To do this, remove the thread loop from left needle nepovezane like this facial; proverite subsequent facial and pull it through the lazy loop.
6
When the end of the series will be 5 loops (edge and 4 front), proverite third and fourth loop from the edge. So you have to subtract on both sides of the blade bevels Raglanas: first 5 loops; using a number – 2. Then consistently do the work in all the even rows in the loop.
7
Instead of start 106 stitches on the working needle should remain 32. Put open loops on the auxiliary needle.
8
The image of the front, run the back of the sweater and start knitting the sleeves. Dial loops to the cuffs (in the example 52), tie several rows of elastic gum, and go 1v1 on the front surface.
9
To the bottom of the sleeve took a wedge-shaped, gradually expand the canvas left and right. To do this, make allowances: vymazyvaja of the transverse threads between the first and second loops of a number of on the additional loop. Do this 6 times, every sixth row, then 15 times in a quarter. In the end, instead of the initial 52 stitches on the needle will be 94.
10
To commence line reglan. Close the corresponding loop on the sample of the finished front and back pullover. When the openings on all the details match, the last row of the sleeve, remove the trailing loop (20 pieces) and set aside. Make another sleeve according to the pattern but like a mirror image.
11
Put all the details of the pullover and follow the joints. Then take the circular needles the same size as the main working tool. String them all pending loops of the product: 32 of backrest 20 from sleeve 32 from the front and 20 loops from the sleeves. Just on the line 104 loop.
12
Tie collar pullover elastic rubber band. To connect the loop of the neighbouring parts, all related handles promazyvaya facial together. In the end, circular painting shall be abated for 4 loops. When the collar reaches the desired height, take in right hand, straight spokes №4 and close with it the last row.

