You will need
- centimeter;
- pattern;
- - 3 spokes (two workers and one helper);
- - iron
- - cotton canvas;
- - pins;
- - 2 skeins.
Instruction
1
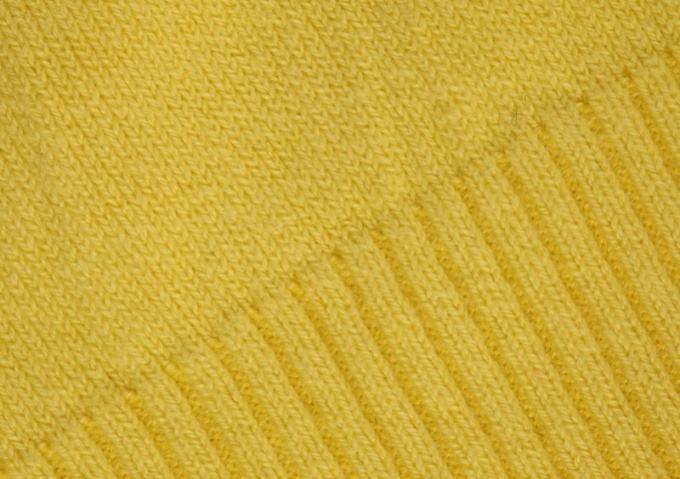
Associate a control sample of the pattern of the future back. Often, this piece of clothing performs band (the front-back or 2 front-2 inside-out), then move on to the front surface. You can also knit the back of any relief. Everyone involved in the creation of the product pattern, it is necessary to perform a square canvas 10x10 cm
2
Put samples of knitting facedown on a soft cotton cloth, pin the corners with pins and otparit. Now the canvas is slightly stretched in width it is on this sample in the future it will be possible to accurately calculate the required number of stitches and rows.
3
Start knitting the back with the elastic and make the elastic blade height of about 8 cm Now you'll need a bit more work with uniform gain loops. Additional loops promazyvaetsya of transverse threads (broaches) between adjacent loops.
4
To add one of the loop insert the needle under strand from back to front, then loop the thread and provarite formed thread of the shackle front. So the required number of loops were added to the canvas evenly divide the work equally.
5
Continue knitting the back of the product forward and reverse series of the selected pattern. At the end of a number do the edge loop. Please note: if on the back vymazyvaja convex patterns and designs, next to the future joints should be at least 2-3 facial or purl loops. Otherwise the stitches would be too rude.
6
You can knit a simple back of the product in the form of a rectangle, and then at the desired height close the loop. To give the product a more elegant form, it is necessary to form armholes. The height of the garment from the bottom of the gum before the start of the armholes count individually.
7
For the armholes loops need to subtract each second row – so the fabric will smoothly wrap on each side. For example, you need symmetrical (left and right) to reduce the crochet 6 loops. Promazyvaya together a pair of adjacent loops:- the first appointment is reduced by 4 loops on each side; 6 times 2 is closed by the loop;- 7 times in 1 loop.
8
Usually the back fit or even without neck or with a shallow line cut (about 2cm deep). The classic curve is created by subtraction of loops on the edges of the neck. To do this, first turn the neckline according to the pattern and density of knitting, then select a certain number of Central loops (width of cut).
9
Not promazyvaya marked loop in the current row and remove them to the auxiliary needle. Now you have to work in parallel with two separate coils of yarn.
10
The curvature of the neck of the back do in every second row. First, each edge symmetrically close to 6 loops, then 2, and last admission is only 1 loop.
11
Simultaneously with the formation of the neck usually make the bevels and shoulders. Take away a certain number of loops on two sides, every second of the front row. To determine the required angle of the bevel (and diminish the number of loops), it is recommended to run the sample and compare it with the pattern. If the backrest has reached the desired length, close the last loop of each shoulder.
Useful advice
After doing a small section of the back elastic and the basic pattern, be sure to check the width of the fabric. If necessary, the work can dissolve. A valid margin of error of 3-4 cm, However in this case it is necessary to make appropriate adjustments when knitting the front to make it narrower or wider than. Small errors can be disguise by building a new line connecting the side seam.