You will need
- adapter line input;
- - duct tape;
- - car frame;
- - screwdriver.
Instruction
1
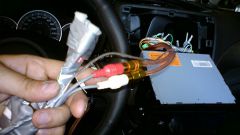
Connect the radio adapter line input. To do this, connect the input wire of the adapter with the wires of the speaker system of the car.
2
Wrap the adapter case with foam: this minimizes the likelihood that while driving on bumpy roads it will break into pieces. But what is more important: wrapped by foam rubber adapter should be able to slide behind the console, so use a thin foam rubber (0.5-1 cm).
3
With duct tape attach the adapter to the line input wiring of the amplifier. To enable the amplifier uses input Remote. Connect the receiver and the Remote or input select button of the amplifier in a convenient place and make contact connect the Remote input, and the second contact connect with the power source.
4
Proceed to the power connection: power is recommended to make a separate wiring coming from the battery or cigarette lighter to the radio. Please note that if the wire will go from the battery, the diameter should be at least posting the output of the receiver.
5
Set the desired value of the output voltage signal. Do not deviate from this figure, because otherwise the sound quality will be low, and volume adjustment – speed. Ultimately, this will lead to premature failure of the speaker.
6
Verify the signaling. For example, move the sound with the Fader/balance on the speaker located to the right. If the sound dynamics consistent with its location, means connecting the head unit you have made is true.
7
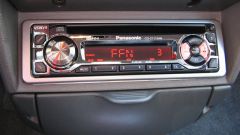
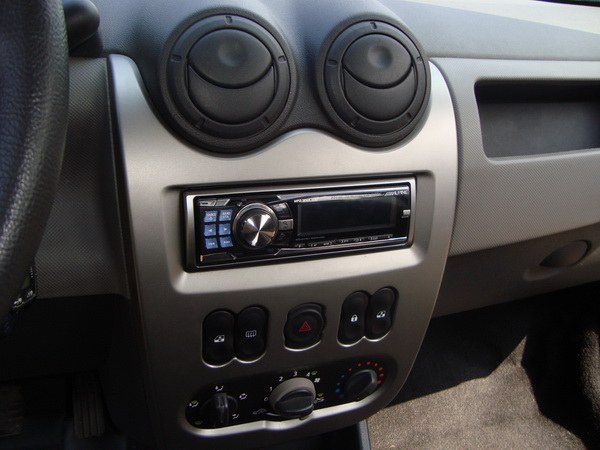
As a rule, radio is sold with a special box: it is attached to the console. Remove the frame from the body of the car, install it in provided for the radio place and depending on the thickness of the laminate pry with a screwdriver the metal petals on the frame. Then connect the radio to the plugs, and insert this device into the slot (sound click).
Note
Work associated with installation of the receiver and connect this device with the need to throw negative battery terminal.
Useful advice
To carry out the dismantling of the car, using a special pry plates side lobes of the frame and pull out the radio.