Instruction
1
Inner tent is mostly tied to the awning. Then the frame is in the outside of the tent. This will allow you to install the awning and inner tent. In rainy weather it's especially important.
2
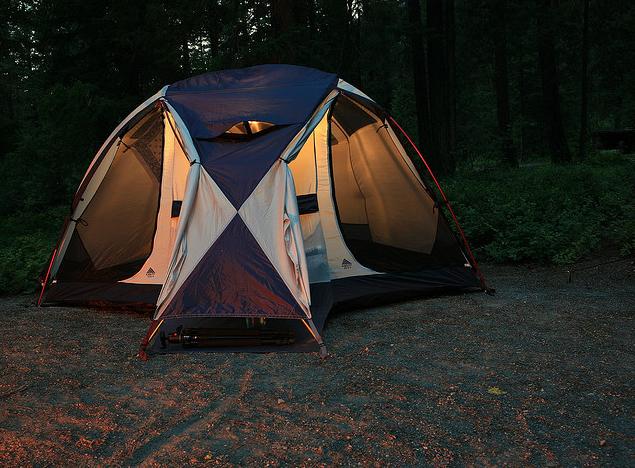
If the tent needs to dry or patched, it can detach from the awning. Tent and without a tent to set up, using it as a large room. The very tent 4 elastic support arc, plug-in special scenes (the scenes are sewn to the tent from the outside). And visor the main entrance is fixed by 2 external racks.
3
We now proceed to the immediate installation of the tent. Lay it so that the tent we looked up outside. Collect arc. When this plug-in connecting elements of the lap at each other until it stops to avoid damaging the frame.
4
Insert arcs in the scenes from the external side of our tent. Metal studs, which are arranged on the adjusting straps, insert the ends of the arcs. Adjust the tension of the awning, checking each of the stands.
5
Fasten the tent from one end to the ground using the pegs, then stretched it along and attach pegs to the ground already at the other end. Now attach the tent to the ground with pegs around the perimeter. Zipper entrances during stringing of the tent should be completely closed. Otherwise lightning then it will be impossible to fasten.
6
Plug-in all remote racks in the grommets the tent door, then tie the two canopy braces. If a strong wind should strengthen the tent additionally stormy stretch marks.
7
When dismantling the tent clearly observe a reverse order of actions: lockable zippers of entrances and ventilation Windows, take out of the ground pegs. Further weaken the tension of the awning and release the ends of the arcs from the mounts. Then forced upward from the scenes of the arc. Notice, that push, not pull. Parse and add the arc. Well, the last step vacated the tent of debris, otrajeniem from the water and pack in the bag.