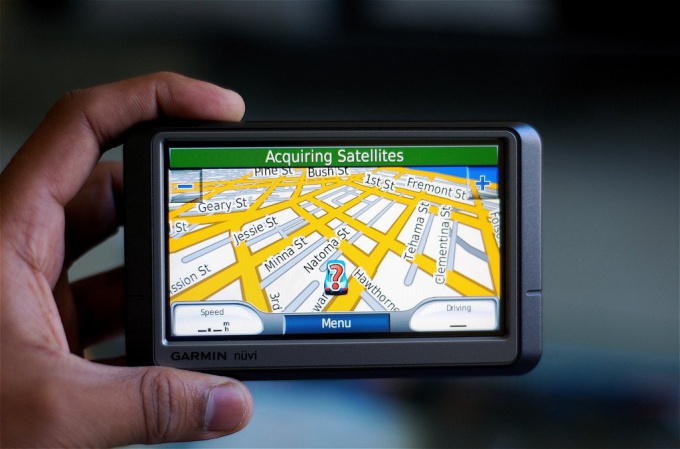
Instruction
1
Decide what cards you are going to install on Navigator – licensed or freely distributed. In the first case you will have to pay the developers in the second – can be freely downloaded from the Internet.
2
Install official Garmin maps by using the program MapChecker. This application automatically searches for new versions of cards, and then provides instructions for their download. For this program to connect your device to a computer with Internet access.
3
Install unofficial maps will require a bit more time. Connect the navigation device to the computer. Download computer software product MapSource. In order to download it, open in a web browser garmin.com then go to Support –> Software –> Mapping Programs. Locate the link MapSource and click on it. The download will begin.
4
Unzip contents of the downloaded archive. First, run the file msmain.msi and only after that file setup.exe. Wait until the software is installed.
5
Download maps for Garmin GPS that you want to install. Unpack them in separate folder. For each of the downloaded maps run the file Install. This is required to ensure that the information is registered in the registry of the system.
6
After that, start the MapSource application. Click on the Service menu –> Manage map products. This section allows you to discover all of the installed maps Garmin.
7
In the upper left of the program window is a drop down list with installed maps. With it, select the one you want to install.
8
Click on the icon in the form of a Pentagon, located on the toolbar. Then click on the map located on the right side of the program window. After you click on it its name will appear in the list in the left part of the window. This operation make with all the cards that you want to install on Navigator.
9
Click on the icon "arrow down" button located on the toolbar. All selected for installation of the map will be merged into the file .img and sent to the Navigator. The installation is completed.


