You will need
- cloth for embroidery;
- - Hoop;
- - a computer with a printer;
- - tracing;
- - carbon paper;
- - needles;
- - embroidery floss;
- - a set of fonts.-
Instruction
1
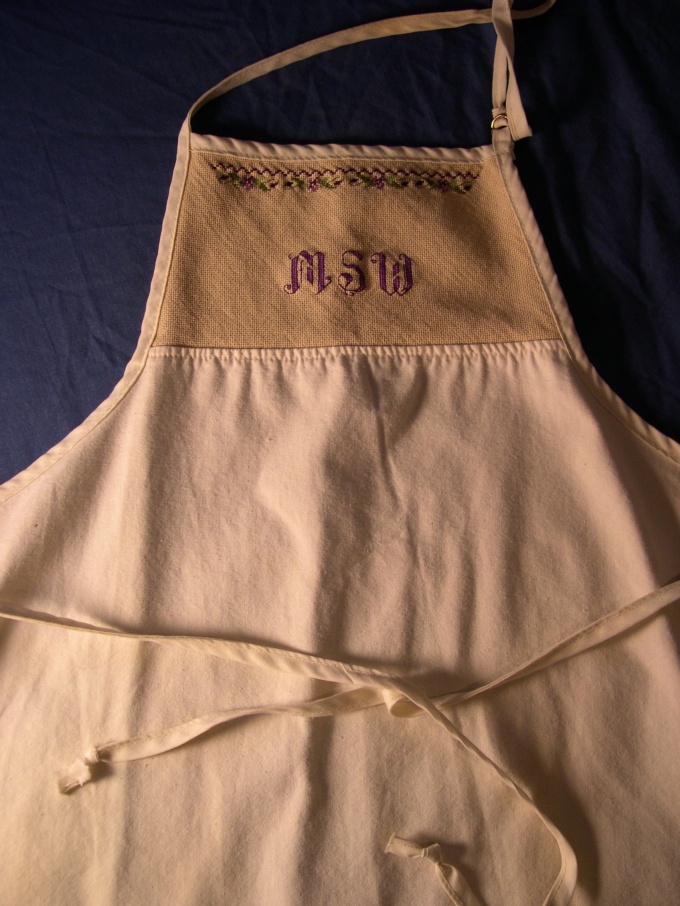
Select the appropriate font. It should be easy to read, but at the same time to be quite elegant. It may be the printing font, and italics. You can use different kinds of special fonts like Gothic or statutes. Now you can find any font. Enlarge image to desired size and print.
2
On the tracing paper mark the section corresponding to the size of future signs. If you are going to "fit" the name of this pattern — it's time to draw it. You can use the traditional elements of the surface — leaves, dumplings and the like. First, draw a pattern around the name, and then outline the lettering in any letters, just to be able to identify the site. On the marked locations translate letters. The embroidered name in uppercase letters is not required. Using carbon paper, move the name to the fabric.
3
For embroidery of inscriptions and monograms is more suitable for double-sided surface. If the name is surrounded by a pattern, first embroider it. Actually the name of the begin to sew the bottom of the first letter. Knot tie, make a few stitches along the center line of letters and leave the thread end on the front side. You can close it with stitches. In one of the bottom corners of the letter, withdraw the needle to the front side, pull the thread, then insert the needle in the other corner the same line of letters. Pull the thread so that the stitch is not too tightened. Again insert the needle near the place where you began the first stitch, through 1-2 threads from him. Pull the thread and insert the needle again near the end of the first stitch. Thus embroider the entire element.
4
If the letters are connected together, embroider them, not looking up. If the letters or even some of their elements are not connected, each element start exactly the same way you embroidered the first. Subtle elements, swirls, etc. Can be embroidered stalked seam. After finishing the embroidery, hide the thread end under the stitches, not tying the knot.
Note
Thread pick depending on tissue thickness. Linen is best suited embroidery floss.
Useful advice
You can translate the name on the fabric and without carbon paper. Put the tracing paper on the place where you will embroider. Seam "forward a needle" sew name on the contour or on the center of the letters, depending on the thickness of the font. Remove the tracing paper.