You will need
- 4 metal area;
- 2 metal plates with holes;
- The 4 long bolts;
- 16 nuts;
- The thread of wool or cloth;
- Keys for nuts;
- Paint (acrylic);
- Varnish.
Instruction
1
Fasten the nut onto the bolt. Please note that the length of the bolt determines the size of the machine: for this reason it is important to find longer details. Slide the metal plate and area. Take another nut and tighten design.
2
Repeat the same operations with another area. A bit of tilt angles relative to the plates. Subsequently, the work will be much easier. Connect a couple of angles.
3
Insert the bolts and nuts in another pair of corners. Connect the two halves. Check that all parts are held firmly and evenly against each other.
4
Degrease metal machine parts technical alcohol or solvent. Take the acrylic and coat all parts with a thin layer of paint. After 4-5 hours, apply a second layer, then through an equal interval a third. After that, wait for final drying. Apply more thin and transparent layer, so it dried quickly. If desired, apply a thin pattern on some details selectively or to all.
5
Apply two coats of varnish with the same frequency. The first time it should be barely noticeable, only a little gleam. Wait until dry.
6
Wrap the bolt that is located above the horizontal frame, thread or fabric. At work, it will eliminate the sliding filament products.
7
Check the operation of the machine, for example, one of the items that have recently started. Wrap the thread beginning at the protruding bolt.
Note
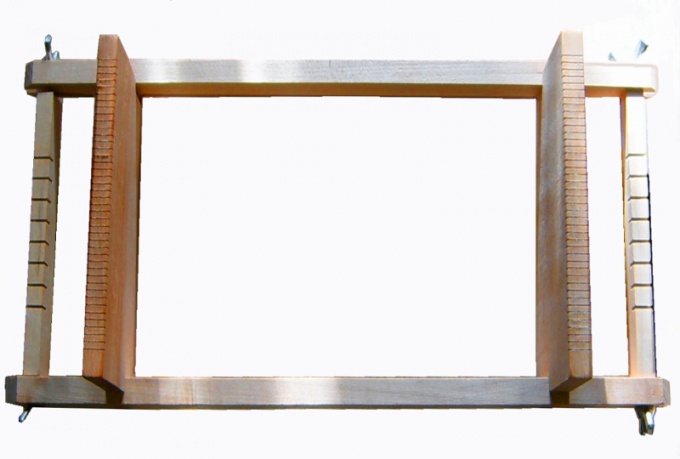
if you wish, you can replace the basic metal parts are wooden. In this case, the acrylic paint can be replaced by gouache and details before the main work is water and where you want to locate a few times to avoid deformation during the application.