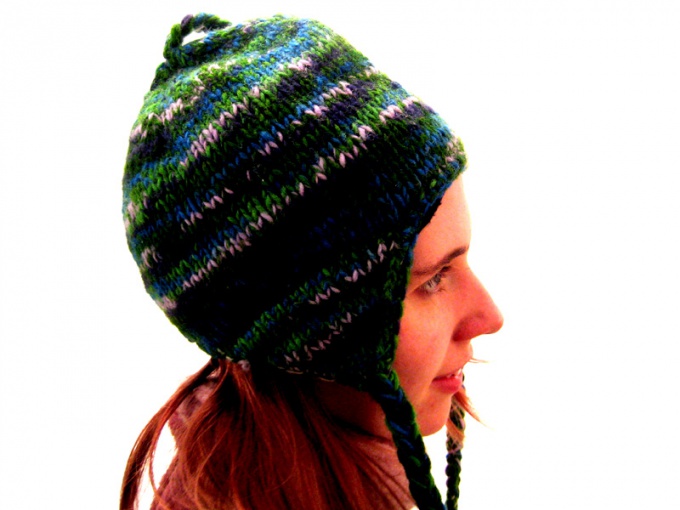
You will need
- Circular needles
- Two straight knitting needles
- Yarn
- Needle run side seams
- Hook
- Cardboard
- Scissors
Instruction
1
Learn basic control loops in a simple round hat. Your task is to associate the product with circular knitting basic pattern approximately to the height of 12-16 see the Beginning of bauleni (corner model) is calculated individually. For this you need to try nadopasana cap on his head.
2
Do the subtraction in the front rows of knitting. For example, after every ten loops promazyvaya from two loops at the same time. In the front row next do the subtraction, counting 8 loops. Thus knit together for two loops on each second working row 6, 4 loops etc. In the end, you should have a ring of 10-12 loops.
3
Collect the remaining loops on the fold and thread the same color and tighten the top caps. With a hook drag the remaining "tail" on the wrong side of knitted products.
4
Try the decrease of loops in the cap-the cap. More narrow and short cap you will succeed if you start gradually remove the cap almost from the beginning of knitting. Now, tie two needles about 4 cm leaf garter viscous or elastic 1x1. Now you can create a model of the type of "Pinocchio", alternating colored strips, or choose any other pattern.
5
From start to purl together for two loops on the front side of the product. Subtraction make in regular intervals in every third row. So remove one loop 5 times; then four loops 3 times. Continue until knitting needles you will have only a dozen loops it will be approximately at a distance of 30 cm from the beginning of the work.
6
Swipe to cut the working thread through the open loops and pull the top of the model. Boca knitted hats sew together.
7
For a more broad and long cap you need to associate 20-25 centimeters of canvas, and then start the decrease of loops in the header. At the beginning and end of each row you need to purl the two loops together. So continue to do every sixth working front row. The rest of the top 10-12 loops pull, as in the previous cases.
Useful advice
To give the hat-the hat a finished look, learn the technique of making POM-POM.
Cut from thick cardboard with two identical circles (their size depends on the desired size of pompon), fold them together and draw a small circle (with a ruble coin) in the center. Cut out the Central circle. Now very tightly wrap yarn cardboard frame, passing the yarn through the middle of it. With scissors, cut the threads at the edges of stacked cardboard circles. Tighten the rather long "tail" between them (with his help you will attach the pompom to the hat). Make a solid node and unplug the bobble of the cardboard base.
Cut from thick cardboard with two identical circles (their size depends on the desired size of pompon), fold them together and draw a small circle (with a ruble coin) in the center. Cut out the Central circle. Now very tightly wrap yarn cardboard frame, passing the yarn through the middle of it. With scissors, cut the threads at the edges of stacked cardboard circles. Tighten the rather long "tail" between them (with his help you will attach the pompom to the hat). Make a solid node and unplug the bobble of the cardboard base.
