Instruction
1
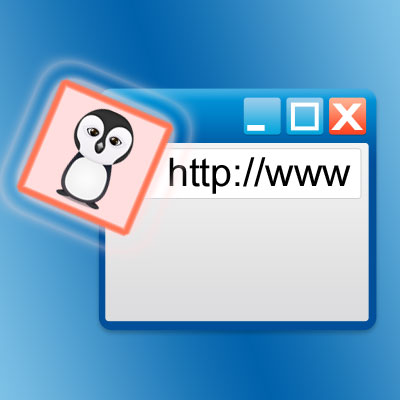
This icon is called "Favicon" (Favorite Icon) and it represents a picture of size 16 by 16 pixel. Some of the modern browsers can display, and the icons are large, but if you care about cross-browser compatibility, then you should pay attention to this minimum standard.To create such a picture you can do in any graphical editor. Modern browsers know how to read the icons in their native format ico and in the standard graphic formats gif, png, bmp, etc. However, if you want to reach the maximum number of versions of browsers, you should focus on the ico format. There is an opportunity to draw the desired image in the editor, save in one of the standard formats, and then convert to ico format using one of the online services. Some of these services can offer and creating a favicon in a fully online mode.
2
When the icon is created, it is necessary to upload your site with the name favicon.ico. Some of the browsers do not require the icon was called that way, but, again, keeping in mind maximum cross-browser compatibility, you should focus on the most stringent requirements. The procedure of downloading the easiest way to navigate through the file Manager, which is part of any content management system or admin panel of your hosting provider. Put the file best to the root folder of the website - it is there by default, looking for its browsers and search engines, if the page code does not explicitly specify the address.
3
In conclusion, we would like to add a reference to the icon in the html source code of the site pages. The tag for Internet Explorer looks like this:<link rel="icon" type="image/vnd.microsoft.icon" href="favicon.ico">Other browsers understand different value of the attribute "rel":<link rel="shortcut icon" type="image/x-icon" href="favicon.ico">to please everyone, it is best to specify both. If you placed the file icons not in the root of the site, but somewhere else, in the "href" attribute should specify the full path to the icon.These two lines should be placed between the tags <head> and </head>. That is, you need to open the desired page in the page editor control system, switch it to edit mode of the html code, find the line containing </head> tag and before it add the two lines above. Then save the page changes.
Note
45 Responses to "How to install icon on a website?" Sergei says I have created a website, set the theme and I got the icon I created and did everything as you wrote above, but still I was left with this icon! What to do?? admin says
Useful advice
All possible browser support formats of icons for the sites are presented below: When the picture is created and saved in the desired format, you can move on to how to install the icon on the website. This Html code icons for your website you need to insert in an arbitrary location between the tags and the file of the page you need to put the icon.
