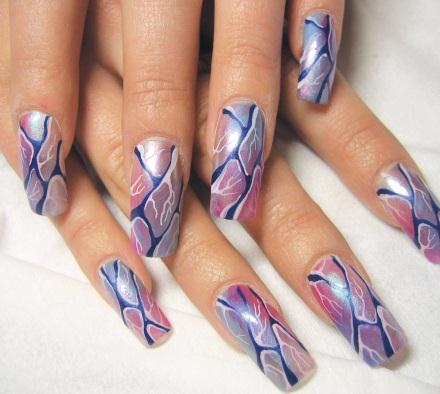
You will need
- colored nail Polish;
- transparent lacquer-fixer;
- thin brush;
- a sketch for a future pattern.
Instruction
1
You'll need a set of colored nail Polish, clear varnish-top coat, thin brush and a sketch for a future pattern. A lot of sketches for painting nails you can find on the Internet.
2
Before applying to the nail Polish, do the preparatory manicure, giving nails in order. Make a bath for hands, file his nails, give them the same shape and treat the cuticles. After that, paint the surface of your nails in the same uniform color. This color will be the background for future design.
3
Take a thin brush for manicure, dip it in another color and apply the outline of the pattern on the cured background layer. Rinse the brush and dip it in lighter shade of color you just chose.
4
Walk on has already established the contours of this color to create a three-dimensional picture effect. Take nail Polish of a different color and modify the figure, causing additional lines of the pattern.
5
You can paint on the nails, flowers, hearts, stars or leaves and decorate the nails with rhinestones or sequins that need to be applied on the still wet lacquer. If you draw a new line, wait for previous layers to dry completely.
6
Also, your nails will look spectacular, if in some region of the picture to add silver or gold paint in a small amount.
7
Dry the nails and cover them with transparent fixing varnish.
8
For convenience, put picture from beginning to end, first one nail, and only then repeat it on all the remaining nine nails.
Note
Before applying the pattern, you need to lead nails in order.
Useful advice
Not to invent long images for your nail, it is best to stock up on a few sketches.
