Instruction
1
Working with headers and footers in Microsoft Office Word begins with a tab Insert. Locate the toolbar section "header and Footer" and select the area you want to draw by clicking on the appropriate button – "header" or "footer". In the drop-down list, select a suitable layout or the command "Edit header/footer".
2
Access to header and footer click on the field in the document, right-click and selecting from the context menu the desired command. To exit the edit mode header and footer double-click the left mouse button in the workspace of the document.
3
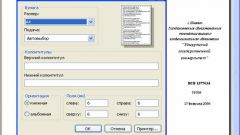
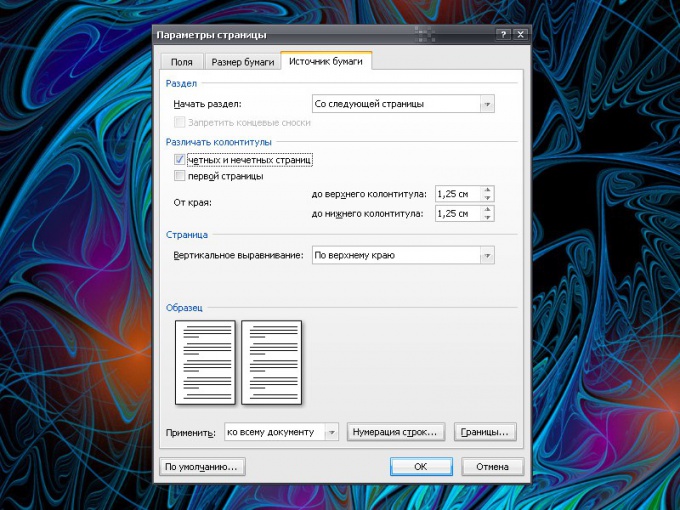
To display headers and footers throughout the document and on the title page did not have them, click the "page Layout" ("Layout pages"). Under "page setup" click on the arrow opens a dialog box "page setup". Go to the tab "paper Source" and set the marker in the "First page" under "headers and footers". Click on the OK button.
4
To create different headers and footers for odd and even pages, also click on the tab "page Layout" and run the "page setup" from the same section. In the opened window go to the tab "paper Source" and set the marker in the group "headers and footers" next to "different odd and Even pages".
5
To make different headers and footers for different pages, divide the document into sections. To do this, go to the tab "page Layout" and under "page setup" click on the "Insert page breaks and sections." In the ensuing menu, choose how you want the section break.
6
Activate the header or footer you want to edit (see step one and step two). You go into editing mode the document will also be available on the shortcut menu on the header / Footer tab. Click on the "Transitions" and using the existing buttons, move the header and footer sections, processing them in accordance with their needs. Please make sure that the button "same As previous section" is not active.