You will need
- - instruction to the sewing machine;
- - a set of machine needles and threads of different numbers;
- - glass plate;
- - a magnifying glass.
Instruction
1
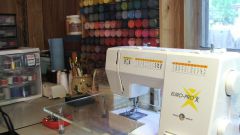
Carefully read the attached user manual to your sewing machine. If you have a good understanding of the unit (including the needles) and sewing process, replace the needle won't be a problem. Just stick to the manufacturer's requirements.
2
Please note that a sewing machine can be adjusted to a certain standard needles (such as 130/705H or other). If you apply a non-standard tool, it may simply break. If required the unit can be reinstalled on a different standard by an experienced master.
3
Check that the new needle with the working thread in terms of thickness. To do this, take a tool with a long groove top; put the thread in the groove and feel the surface of the blade. The thread should fill the groove, but not to speak over him! If such a ledge is formed, you have chosen too thin a needle for the working thread.
4
The manual for the car – it is often given a list of numbers of needles and appropriate threads (for example, thread No. 80 of suitable needle No. 75, etc.). This will help you to choose a quality material for sewing.
5
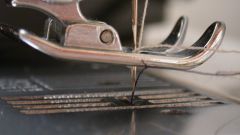
If you found the needle that fit the settings of the sewing machine and the thickness of the yarn, insert it into needle bar. Put the tool on the glass surface and lift to eye level. If the rod is evenly located over the entire length, then the needle can be used – it is not curved.
6
Guide the nail plate along the needle, starting from the bulb. You will immediately feel if the edge is a little bent. The blunt tip can be detected with a magnifying glass – it will stand out white spot. Such a tool can not be used to avoid problems with machine stitching.
7
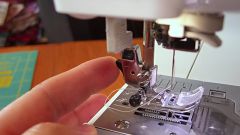
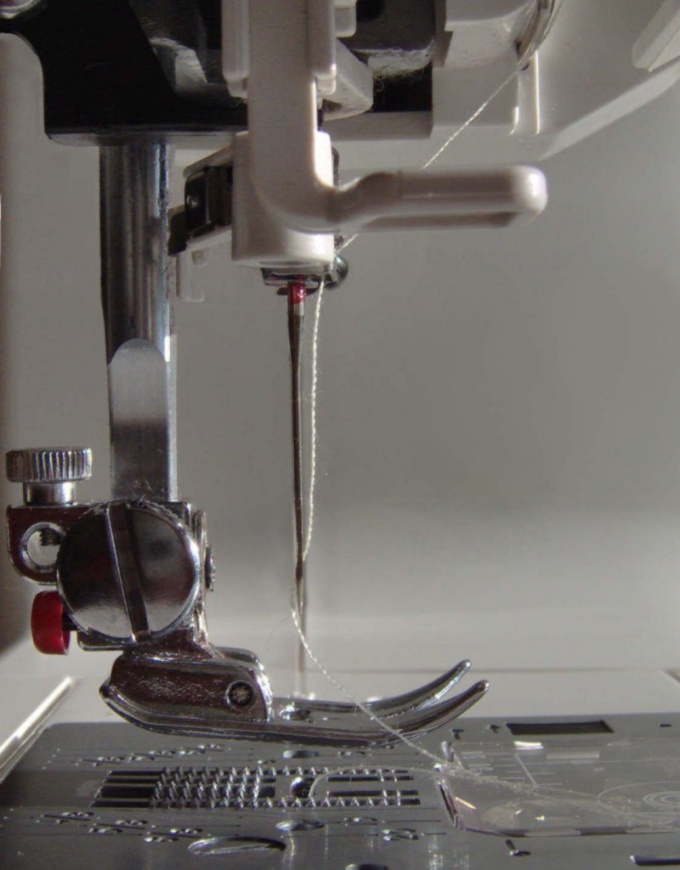
Finally properly insert a curved needle in the sewing machine. Don't forget that when refueling the needle bar, long groove should always be facing the needle thread guide. Typically, machines with a straight line filament dressed to the left; zig-zag line in front. If you are not familiar with the structure of the machine, refer to the diagram in the instructions – otherwise you may break the Shuttle mechanism.
8
To put the needle in the machine, lift the needle bar at top position and loosen the needle clamp screw. You will see a groove for installing the needle – it resembles the letter "P". Put the flatted needle (this is cut into the thickened part) to the bottom of the groove; the needle must enter the needle bar through Hagersten. You need to insert it up until it stops! Secure the new needle retaining screw.
Note
You often have to deal with the replacement of the needles in the sewing machine due to breakdowns, some stick to sartorial rules. Never pull out working the fabric from under the foot movement itself; not "help" the running machine, pushing the fabric by hand. Ensure that the throat plate is always securely attached; install the foot only after lowering of the needle. If you have to put a line across the seam thick, do it carefully and at a slow rpm. If you have cut the upper thread sewing machine skips stitches badly and knocks when operating – try to replace the needle.
Useful advice
Study in detail the device for the needle of the sewing machine. She has a rod (blade); one end of this framework is the cutting edge, and the other flask. A little above the edge of the ear (using his pull-cord). Consider the bulb: it has convex and flat sides. On a flat surface a short groove (a groove), and convex – long. Do you remember that thread odevaetsya the needle always from the side of the long groove (see paragraph 6).