Instruction
1
Select the material for crafts. It needs to be tough enough to hold their shape. Make a drawing of the future trunkand without cover. For this you need to draw a scan of the box. Its size depends on how big a chest you want to glue. Make a drawing of the rectangle to the back wall of the chestand square to the sides and add another two of the same shapes for the front wall and the sidewall. All pieces must touch the sides. To the lower edge of the front wall, attach the rectangle to the bottom. It will provide valves on all three sides. Draw them in the form of strips with a width of 2-5 cm and trim the corners.
2
Make a drawing of the cover. You can duplicate a scan of the box, reducing its height. If you think that pirate chestand should be a round cover, draw three separate parts. The upper part of the draw as a rectangle. For side draw a circle the diameter of which is equal to the width of the chest. Divide the circle in half and on the arc of each of the halves of the draw valves. Cut out all the details. Space bends to push on the inner side with a ruler and pencil. Grease glue valves and connect the details of the chest. The lid attach using strips of paper.
3
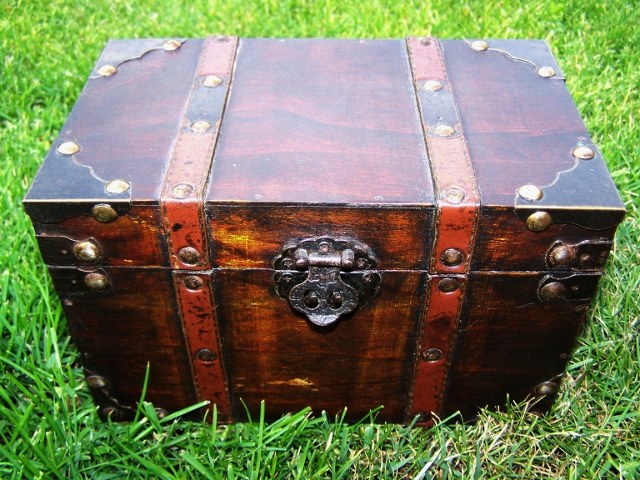
To give the chestat the similarity with real, paste over it with paper for scrapbooking, which shows the wood texture. For these purposes, you can use adhesive tape for furniture with the same print.
4
The lid and the front wall insert the bracket lock, made of wire. After that, the inside of the chestand can be decorate with foil, paper or cloth.
5
In the center of the lid draw a pirate character. Close the trunk on a real castle. Choose not very large, so that the wire mount is not bent under his weight.
6
A small chest can be made from salt dough, clay or plastics. For this you need to cut a rectangular wall to connect them together. On the surface of a DIY stack with a toothpick or squeeze the boundaries of the boards that form the chest. Dried toy paint with acrylics and coat with varnish.