You will need
- - canopy;
- bracket.
Instruction
1
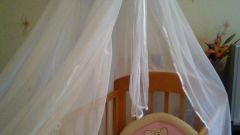
Prepare the canopy to use. Wash it in warm soapy water, rinse well. Iron curtain, spreading the top ruffles and frills, which untie the bow and loosen the ends of the ribbons that are too Pat.
2
Lay on the floor of the metal parts of the bracket. The kit should comprise two tubes, straight and curved, ring and two retaining mechanism. Connecting tube, determine the place where you will mount the canopy to the holder: at the rear wall or above the headboard of the crib. The side mount will allow you to cover the bed fully, a canopy over the headboard will close only the head and shoulders of the baby.
3
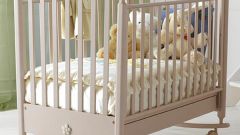
Straight rod into the holes on the fixture. Attach the design to a selected place on the crib, adjust the height. Fix the beam on the wall or headboard of the crib. Curved tube and the ring do not install.
4
Spread the valance, look in the upper Ruche drawstring and holes that are usually found on the reverse side and closed by a bow, ribbon or elastic. To fasten the canopy onto the holder must at the same time in two rings, starting from the middle.
5
Turn the canopy front side facing you. The free ends of the holder engage the inside at the drawstring and gather the ruffle on the ring. Output ends of the holder from the rear of the canopy so that they were covered with a Cape.
6
Insert the ring in a curved tube. It remains to secure the canopy to the holder, which is already bolted to the bed. Align all the parts that the bracket for the canopy, stood straight. Optionally adjust the height of the structure.
7
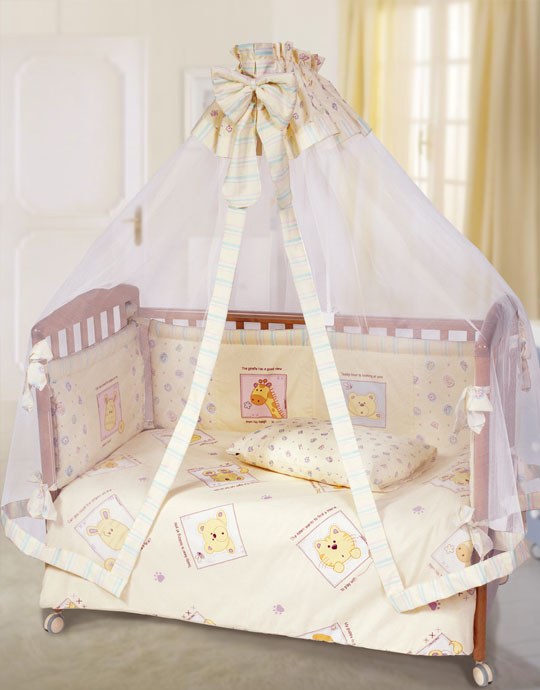
Spread the canopy over the crib, adjust the ruffles. If done correctly, the canopy covers and crib bumpers, and bracket. Tie a bow or leave the ends of the tapes free. Finish making crib bumpers, tuck bed.