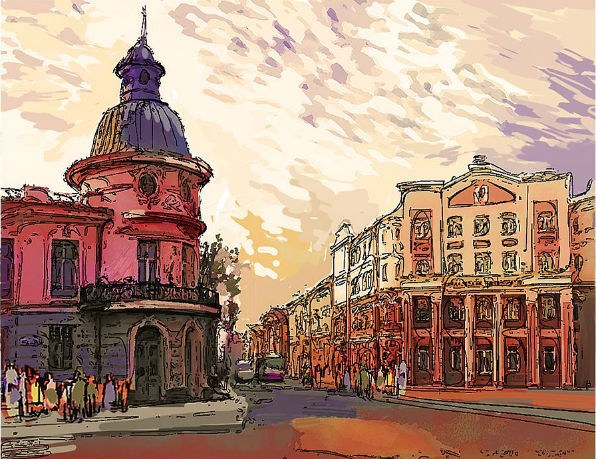
Automatic stylization with the help of the plugin
One of the simplest programs for the imitation of the painting is a Virtual Painter. Its interface is built just a few buttons: choice of technique and choice of material. Even at minimum settings processed photo looks written with a brush.
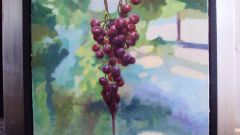
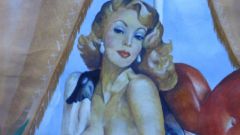
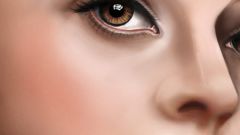
Because of this drama plugin is more suitable for stylization of landscapes and background. Processing portrait shots better program with more variation.
Transformation into a painting using filters photoshop
The consistent use of certain filters and settings in photoshop will allow you to create a masterpiece. Load the selected photo into the program, open the window hue/Saturation" CTRL+U, set the value 45.
Go to the gallery to filter through the Filter tab. For light watercolor effect blur apply the filter "Glass" and in its settings select the type of texture as close as possible to the simulated canvas. If the image is something you are not satisfied, try to decrease the setting values of "Distortion" and "Mitigation".
Working with layers
Create a new layer for the effects using the button located in the lower part of the window of the gallery filters. More likely recreates the brush strokes filter "Oblique strokes" with a minimum value of sharpness and the length of the bar 3.
Try creating a new layer effects and apply the filter "Oil paint". The key settings of this layer are the size and type of brush. Apply a simple brush and reduce its size to 4 and the value of the parameter "Sharpness" reduce before until the strokes do not look natural and fluid.
You will need to create another layer of effects with the purpose of the filter "Texturizer" and select the type of texture of the "Canvas". The scale is set in accordance with the size of the original image. Confirm the application of all filters, click OK.
To make crisp strokes will have to do some more manipulation. With the help of CTRL+J duplicate the layer and in the menu "Adjustments" then "Desaturate".
Following apply to the working layer filter "Stylize" and the option "Embossing". In the settings, decrease the value of "Height" to one, and the parameter "Effect" increase to five hundred.
Set the type of blending for the top layer to overlay, save the result and enjoy the view of beautiful paintings created by the own hands of conventional photography.