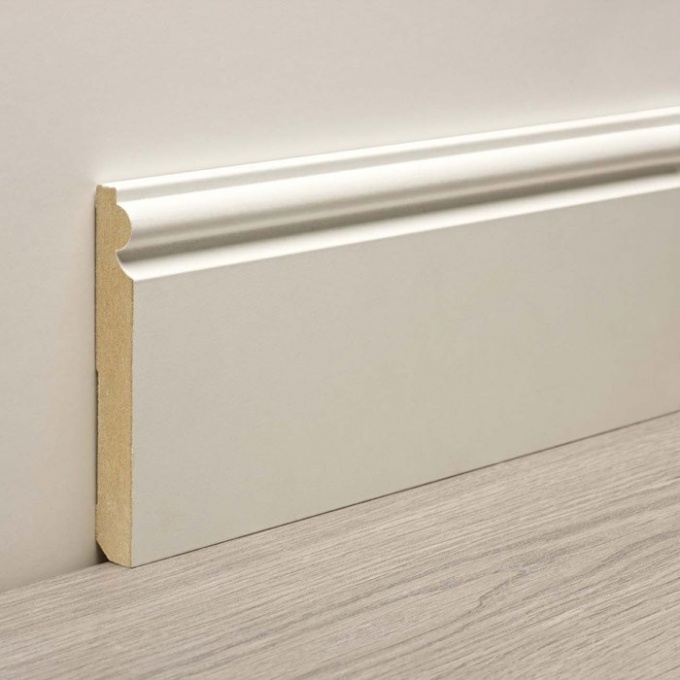
You will need
- For the first method of attachment:
- - hacksaw;
- - ruler, pencil;
- - a drill with a hammer;
- - drill d7 or d8;
- - hammer;
- - galvanized nails with flat head;
- - furniture dowels d8.
- For the second method of attachment:
- sealant or liquid nails.
Instruction
1
Make the necessary measurements and sawed the skirting Board into sections of desired length. Start from the wall in which the door, and move clockwise.
2
Hammer the nails into the baseboard with a pitch of not less than 50 cm Your task is to drive them so that on the reverse side were the tip of the nail 1-2 mm, not more. Attach the baseboard to the ceiling and mark these edges locations for drilling holes for dowels, which later will drive nails. Remove the plinth and mark these points with a pencil so you'll never be wrong.
3
Drill into the concrete wall of the hole by placing the drill the block of wood to keep it on weight. So you can make holes, parallel to the floor or 45 ° angle, if the bar corner. Beat in them, the furniture dowels.
4
Install the baseboard in place fasteners and finish nails. The described method is quite reliable, however not every baseboard can be fastened in this way. If you set honey oak skirting or do not want to paint a tree structure, or the nails will need to putty with special composition, structure and color of which perfectly matched or use any other method of attachment does not violate the front surface of the finishing material.
5
Gluing the plinth can only be the case if the walls are perfectly smooth. So first align the wall surface using the tool rule and plaster. Attach the deep-layer of plaster primer.
6
After complete drying of the wall mark the mounting location of the plinth with a pencil and a ruler. If on top of the wall were pasted the Wallpaper, then cut them into 1 cm below the mark. Fill the inner surface of the floor Assembly adhesive or germetikoj, making undulating movements. Spread the glue with a spatula, attach the baseboard to the wall and press. The best option is to use screws along the edges, holes in the wall do as in the first embodiment, but if the initial installation – not to spoil the front of the plinth, the drying time plinth need to press down with something heavy.
