You will need
- - Photoshop;
- photography;
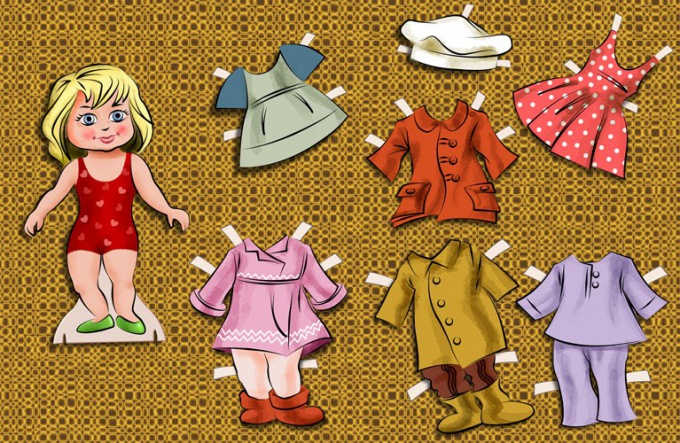
- template of clothing.
Instruction
1
With Open ("Open") the File menu (File) upload to photoshop template clothes and the. Each image opens in its own window. If you received a layered psd file, not only new clothes but also background, the only thing you need to do is to insert a face from a picture in the template.
2
Highlight portion of the picture with the face using Rectangular Marquee (rectangle select) or the Polygonal Lasso ("Polygonal lasso"). Using the Copy option (Copy) Edit menu ("Edit"), place the selected section of the picture to the clipboard. Insert it into the template option to Paste (Insert) from the same menu. Using the options group Arrange ("Installation") menu Layer ("Layer") put a layer of the face under the layer of clothes.
3
Option Reveal All (Show all) the group Layer Mask ("Layer-mask") menu Layer ("Layer") to create a mask on the layer with the face. With its help, you can hide parts of the background that got on the picture with the head model. To do this, fill the mask with black color in those places where the preserved pieces of the original background, using the Brush tool (Brush).
4
The dimensions of the template may not match the dimensions inserted in his face. To fix this, adjust the size of the clothing with the background or the person applying the Free Transform option ("Free transform") Edit menu ("Edit"). In order to equally change the amount of images in all layers that make up the template, select them while pressing the Ctrl key.
5
If using to replace the clothing template psd with the background you want to preserve the original background of a photo, paste all of the under layers of clothing and adjust its size by the size of the template. Using the Move Tool ("Move") move photo so that the head model is aligned with the clothes. Tool Crop ("Crop") crop pattern in those areas that do not overlap the background.
6
To change the outfit in the picture you can use the template in png format. As a rule, these files can save the image of clothes on a transparent background. Insert the desired article of clothing on top of the layer with the photo and align the size and position of both images.
7
It may be that the position of the sleeve garment does not coincide with the hand position of the model in the picture. This problem can be solved in several ways: to adjust the position of the sleeves under the arms position option Warp ("Warp") of the group Transform (Transformation) menu Edit (Edit) or copy the hands to a new layer and transform them the same option so that they are naturally combined with clothing. Original pair of hands left on the picture, will have to close sections of the background using the Clone Stamp tool (rubber Stamp).
8
With the option Hue/Saturation ("hue/Saturation") or Color Balance ("Color balance") group Adjustments (Adjustments) menu Image ("Image") edit, if necessary, the brightness and color of the garment, bringing it close to the colours of the photo.
9
Save the resulting picture in jpg format option Save As (Save as) File menu ("File").