You will need
- - Jack;
- - a set of keys;
- - flat screwdriver;
- - hammer;
- - flashlight;
- - 2 M8 screws.
Instruction
1
Position the machine so that you can drop any wheel with at least one side. Begin testing with the front brake padsas to check their wear on disc brakes is not difficult.
2
Remove the steering wheel in the direction where you will see the amount of wearand the brake pads, tighten the handbrake and remove the front wheel. On the brake caliper there is a viewing window through which you see the remaining layer of friction material - Ferodo. If existing lighting is not visible to the material, Shine a flashlight in there. New pads the thickness of the friction lining in most cases is 10mm. When the thickness reaches 2 mm, replace the pads.
3
In addition the absolute thickness of the material, is of great importance for uniformity in wear. If the wear of the pads occurs at an angle, so one of the guides of the brake caliper is jammed. If one pad is worn much more then wedged both guides. Repair and replace are the pads, then install the wheel on the car.
4
Check out the same manner the second wheel, if at this stage it is possible. Checking front brake pads, check and back. Drum brakes are fully enclosed mechanism and it is impossible to inspect without removing the brake drums.
5
Before raising the rear wheel with the Jack, place under the front wheel bars – one front, one rear. This is because the action of the handbrake on the front wheels does not apply. Lifting the wheel, sit in the driver's seat and press the brake pedal. Holding it, remove the car with the handbrake and slowly release the pedal. Make sure the car is securely in place.
6
Remove the rear wheel. Using two M8 bolts extrude the brake drum with its seats. Here's how: in the 2 holes on the drum tighten the M8 bolts. Gradually tightening them with the Allen key, achieve the highest level gathering drum with its seats.
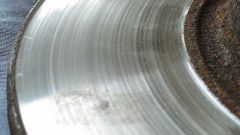
7
If necessary, correct it with light hammer blows through the plywood plate. When large wearof the drum is formed a lip which makes it difficult to remove the drum. In this case, through the hole in the drum or in a protective apron, using a flat screwdriver by turning the adjusting bolt, pinch the brake pads. This process is inconvenient that you have to take the pads to the touch, as no additional viewing Windows are not provided.
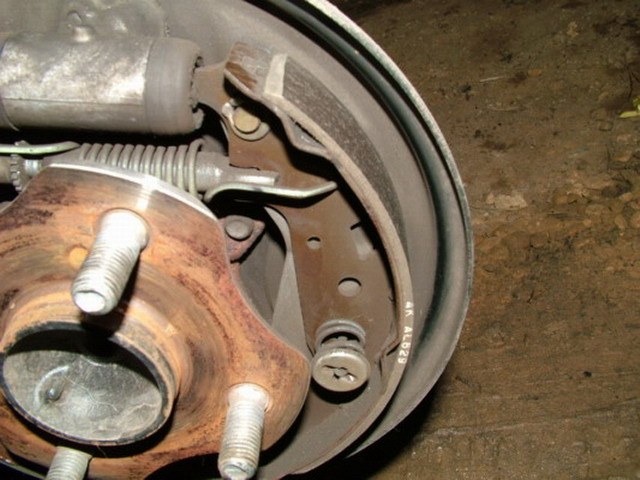
8
After removing the brake drum, remove it from the bolts M8. Inspect the brake pads. The initial thickness of the friction coating is 3-4mm depending on the size of the brake mechanism. When the residual cover thickness in any location of the pads is 0.5 mm or less, replace the brake pads. Uneven wearand drum brake pads is not a cause for replacement.
9
Install the brake drum, adjust brake pads. It has to be done to get a different braking force on the right and left wheels. It is simple: using a flat screwdriver, through the window in the drum or in a protective apron, turn the adjustment wheel until, until the pads touch the drum. The clamp load should be minimal, so that the drum rotated freely.
10
Install the rear wheel and do this with the second rear wheel.